10 Creative Ways to Use Transparent PNG Images in Your Designs
10 Creative Ways to Use Transparent PNG Images in Your Designs
Removing the background from an image is only the beginning. The real magic happens when you take that transparent PNG and put it to work across your creative projects. Whether you are a graphic designer, content creator, small business owner, or hobbyist, transparent images open up a world of possibilities that solid-background photos simply cannot match.
In this guide, we walk through 10 creative ways to use transparent PNG images in your designs, with practical steps and recommended tools for each idea. By the end, you will have a toolbox of techniques to elevate your visual content across every platform and medium.
1. Custom Stickers and Die-Cut Labels
Transparent PNGs are the foundation of professional sticker design. When you remove the background from a photo or illustration, you get an image that follows the exact contour of your subject, which is precisely what die-cut stickers require.
How to Create Custom Stickers
- Remove the background from your image using an AI background removal tool to produce a clean transparent PNG.
- Open the transparent PNG in a design application such as Canva, Adobe Illustrator, or Sticker Mule's online editor.
- Add a thin white or colored border around the cutout to create the classic sticker outline. Most sticker printing services generate this border automatically from your transparent file.
- Export at 300 DPI or higher to ensure crisp print quality, and upload directly to your chosen printing service.
Tools That Pair Well
- Canva for quick border additions and layout
- Adobe Illustrator for precise vector outlines around your cutout
- Sticker Mule, StickerApp, or Redbubble for printing and fulfillment
Custom stickers are perfect for branding, product packaging, event giveaways, laptop decorations, and planner accessories. A single transparent PNG can generate dozens of sticker variations with different borders, colors, and sizes.
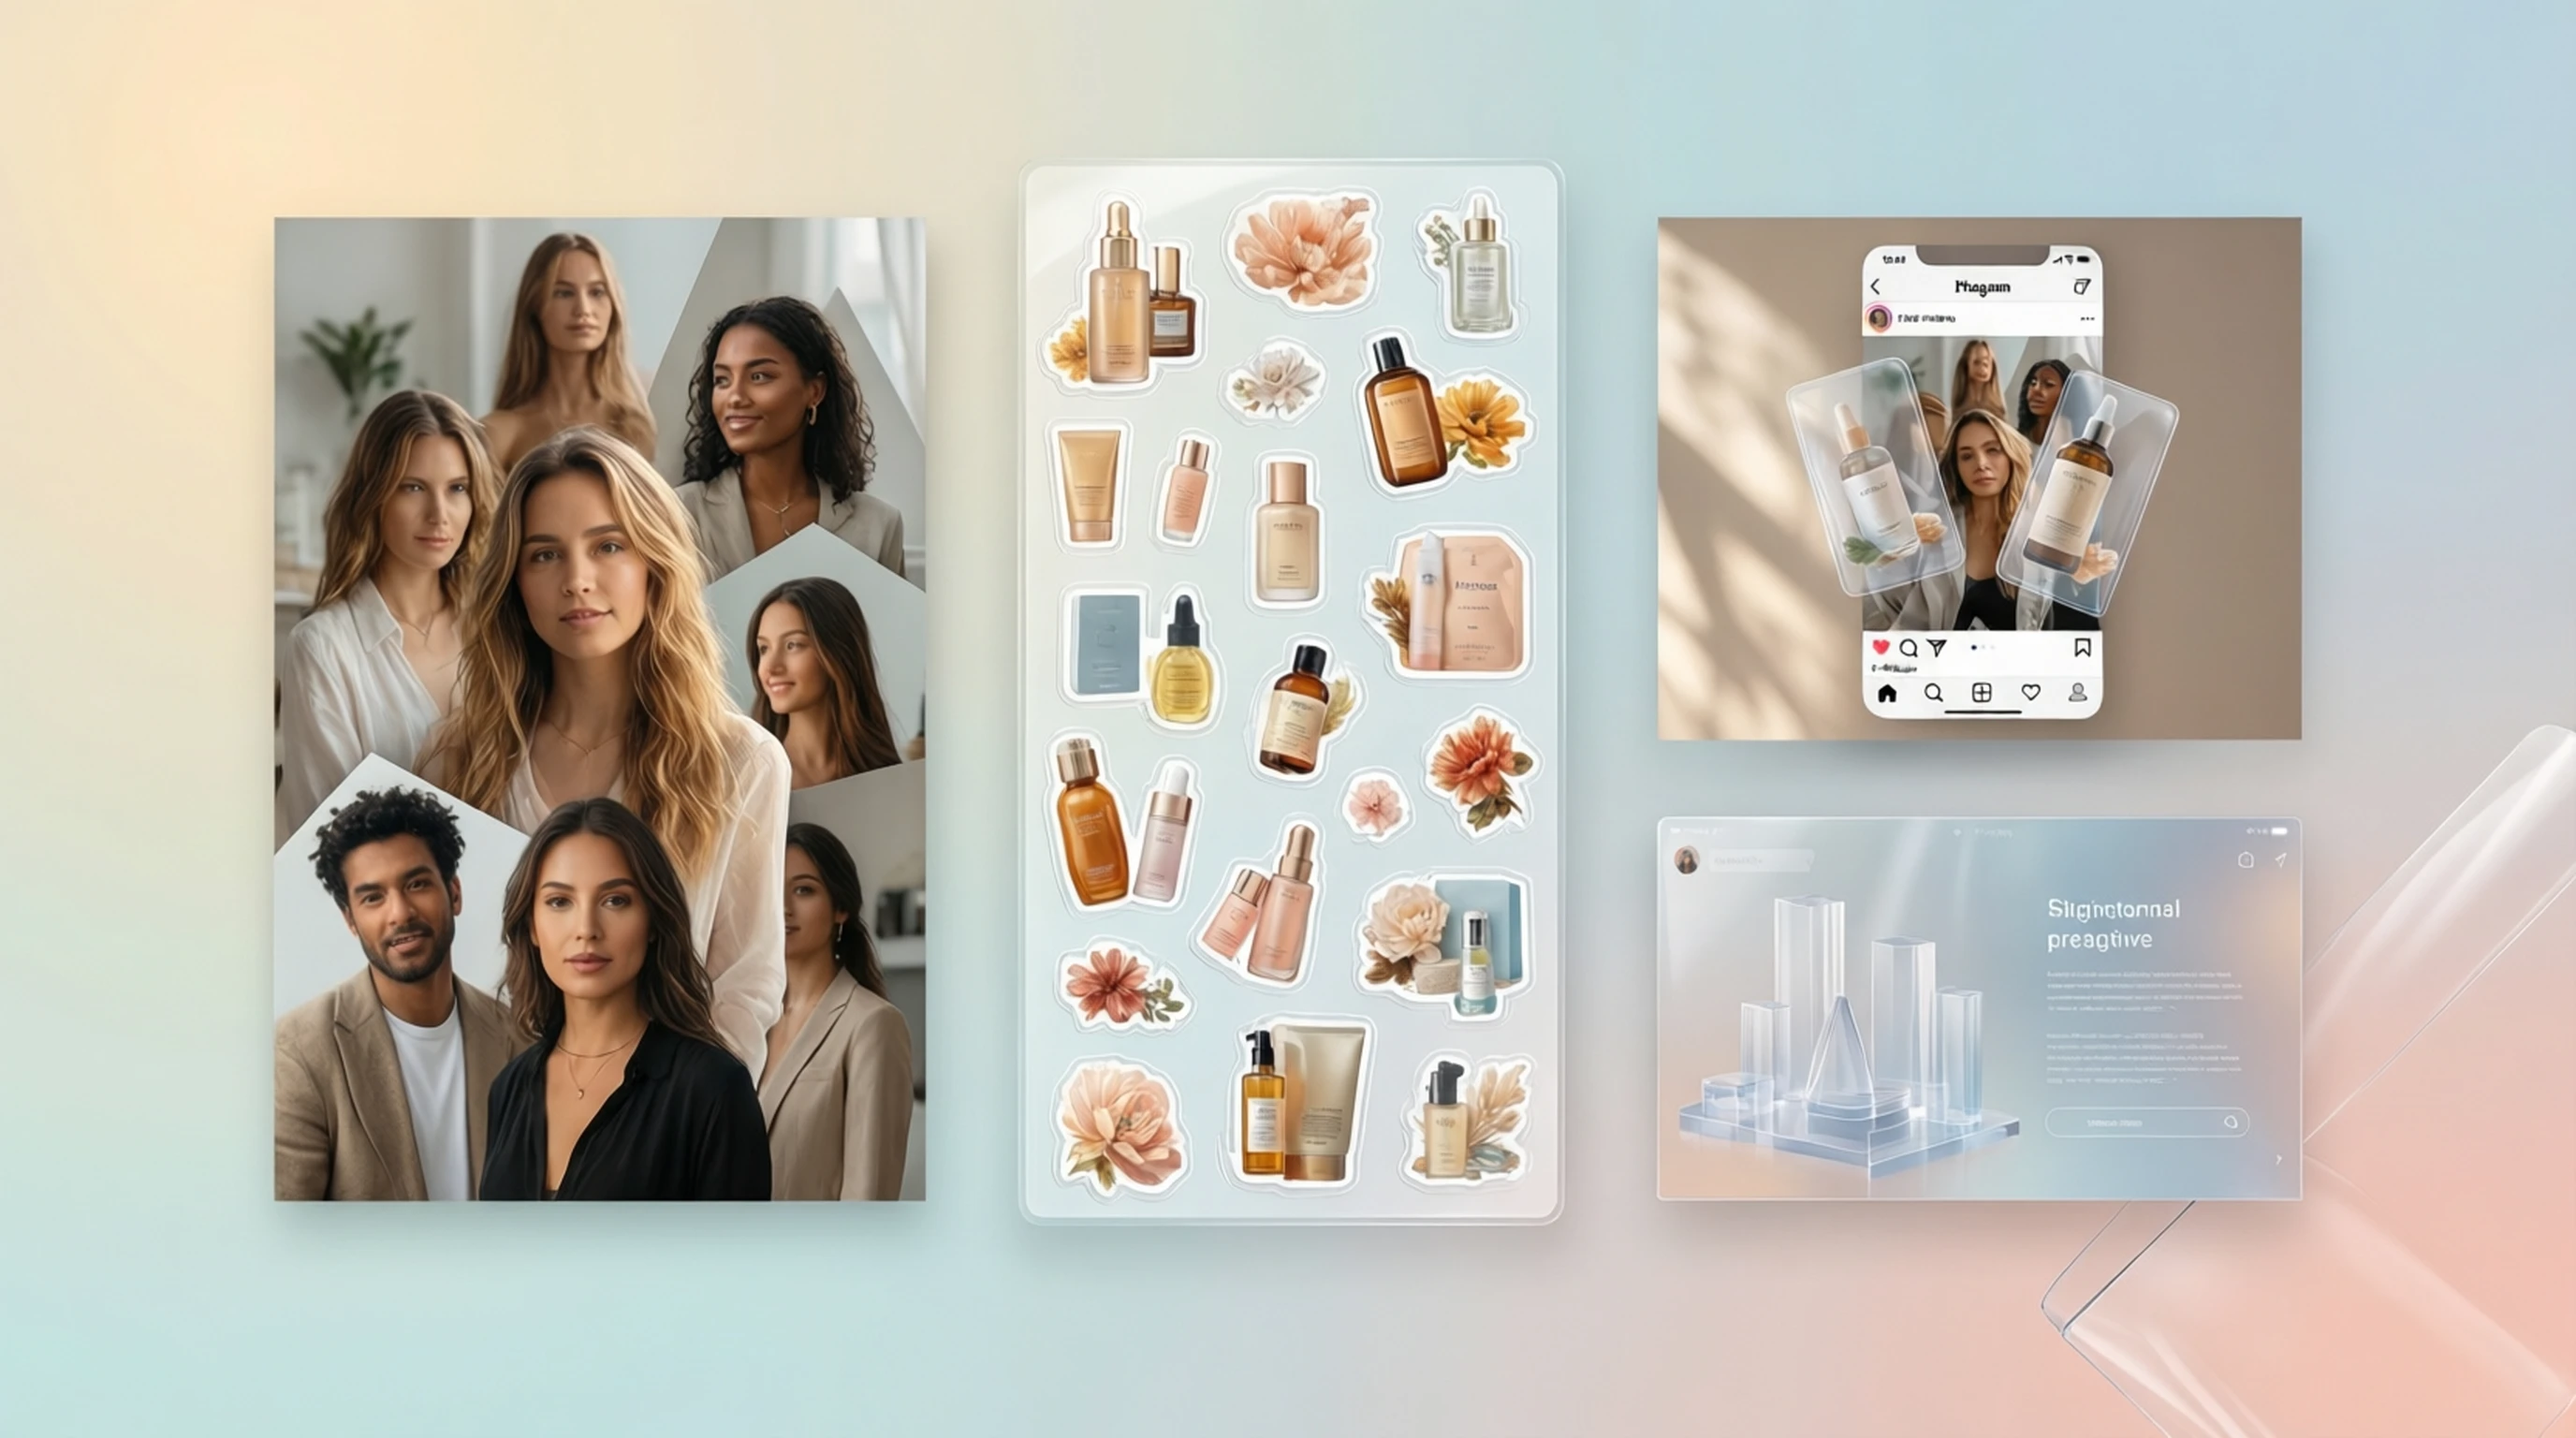
2. Layered Social Media Graphics and Collages
Flat, single-layer images can feel static. Layered compositions with transparent PNG cutouts add depth, dimension, and visual interest to your social media posts, making them far more likely to stop the scroll.
How to Build Layered Social Media Graphics
- Start with a background -- a gradient, texture, photograph, or solid color that fits your brand palette.
- Remove backgrounds from two or more images to create transparent PNG elements.
- Layer the cutouts on top of your background in a design tool. Overlap them slightly, vary the sizes, and experiment with drop shadows to create a sense of depth.
- Add text, shapes, and graphic elements between or on top of the layers to complete your composition.
- Export for your target platform (1080x1080 for Instagram feed, 1080x1920 for Stories, 1200x628 for Facebook).
Tools That Pair Well
- Canva for drag-and-drop layering with templates
- Figma for precise positioning and reusable design components
- Adobe Photoshop for advanced blending modes and layer effects
- CapCut for layered video compositions
This technique is especially powerful for product announcements, team introductions, event promotions, and before-and-after comparisons.
3. Website Hero Sections with Overlapping Elements
Modern web design frequently uses overlapping elements in hero sections to create striking first impressions. Transparent PNGs allow product images, portraits, or illustrations to break out of rigid rectangular boundaries and interact with text, shapes, and backgrounds.
How to Design Overlapping Hero Sections
- Remove the background from your hero image -- a product shot, team photo, or brand mascot.
- Position the transparent PNG so that part of the subject overlaps with the headline text or extends beyond a container boundary.
- Use CSS z-index layering to control which elements appear in front of or behind others.
- Add subtle shadows or glow effects in CSS to enhance the three-dimensional illusion.
- Test across screen sizes to ensure the overlapping elements remain visually balanced on both desktop and mobile.
Tools That Pair Well
- Figma or Adobe XD for designing the layout and exporting assets
- Next.js or any modern framework for implementing the layered HTML/CSS structure
- CSS Grid or Flexbox for responsive positioning of overlapping elements
E-commerce sites benefit enormously from this technique. A product image that appears to "pop out" of the page creates a premium, immersive feel that increases engagement and time on site.
4. Branded Email Signatures with Transparent Logos
Your email signature appears on every message you send. A transparent PNG logo in your email signature ensures it looks polished and professional regardless of the recipient's email client, background color, or dark mode setting.
How to Set Up a Transparent Logo Signature
- Remove the background from your company logo or personal brand mark to create a transparent PNG.
- Resize the image to approximately 200-300 pixels wide. Email signatures should be compact and fast-loading.
- Optimize the file size using a tool like TinyPNG to keep the PNG under 50KB. Large signature images can trigger spam filters.
- Insert the transparent PNG into your email client's signature editor (Gmail, Outlook, Apple Mail) or use a signature generator tool.
- Test in both light and dark modes to verify the logo remains visible and clean against different backgrounds.
Tools That Pair Well
- TinyPNG for file size optimization without quality loss
- WiseStamp or HubSpot Email Signature Generator for professional signature templates
- Canva for resizing and adding supporting brand elements
A transparent logo eliminates the unsightly white box that appears when a JPEG logo is displayed on a colored or dark background. This small detail makes a significant difference in perceived professionalism.
5. Custom Zoom and Teams Virtual Backgrounds with Your Photo Cutout
Virtual backgrounds in video conferencing tools often produce awkward edge artifacts around the speaker. A better approach is to create a custom background image that already includes your transparent PNG cutout, giving you full control over how you appear on camera.
How to Create a Custom Virtual Background
- Take a well-lit photo of yourself against a simple background.
- Remove the background to create a transparent PNG of yourself.
- Design your custom background in a tool like Canva or Photoshop -- include your branding, company logo, social handles, or a clean professional backdrop.
- Place your transparent PNG cutout onto the designed background, positioning yourself where you will appear natural during the call.
- Export as a JPEG or PNG at 1920x1080 resolution and upload it as your virtual background in Zoom, Microsoft Teams, or Google Meet.
Tools That Pair Well
- Canva for quick background templates with brand elements
- OBS Studio for advanced virtual camera setups with layered sources
- Zoom, Microsoft Teams, or Google Meet for applying the final background
This technique is particularly useful for sales professionals, consultants, and anyone who wants their video presence to reinforce their personal or company brand consistently.
6. Print-on-Demand Merchandise (Mugs, Phone Cases, T-Shirts)
The print-on-demand industry runs on transparent PNGs. Every custom mug, phone case, t-shirt, and tote bag you see on platforms like Redbubble, TeeSpring, or Printful starts with a transparent image file placed onto a product mockup.
How to Prepare Images for Print-on-Demand
- Remove the background from your design, photo, illustration, or artwork.
- Verify the resolution meets your print provider's requirements -- most require at least 300 DPI, and t-shirt designs often need files at 4500x5400 pixels or larger.
- Check for edge quality at full zoom. Stray pixels or rough edges become visible when printed at large sizes.
- Upload the transparent PNG to your print-on-demand platform and position it on the product template.
- Order a sample before launching to verify color accuracy, placement, and print quality on the physical product.
Tools That Pair Well
- Adobe Photoshop or GIMP for resolution adjustment and edge refinement
- Printful, Redbubble, TeeSpring, or Merch by Amazon for production and fulfillment
- Placeit by Envato for realistic product mockups before printing
The key advantage of starting with a transparent PNG is flexibility. The same cutout can be placed on a white mug, a black t-shirt, a clear phone case, or a canvas tote -- one file, endless products.
7. Animated GIFs and Videos with Transparent Overlays
Transparent PNGs are not limited to static designs. They serve as essential building blocks for animations, GIFs, and video overlays that add polish to your motion content.
How to Use Transparent PNGs in Motion Design
- Remove the background from the elements you want to animate -- a product, logo, character, or decorative graphic.
- Import the transparent PNG into your animation or video editing software as a layer.
- Animate the element with keyframes for position, scale, rotation, or opacity. Even simple movements like a gentle float or bounce can bring static images to life.
- Export as an animated GIF (for social media and messaging) or as a video file with alpha channel (for professional compositing).
Tools That Pair Well
- Adobe After Effects for professional motion graphics with alpha channel export
- CapCut for quick social media video overlays
- Canva Pro for simple animations and animated social posts
- GIMP or EZGIF for creating animated GIFs from transparent frame sequences
Video content with transparent overlays is especially effective for product launch announcements, YouTube intros, Instagram Reels, and educational content where you want to layer explanatory graphics over footage.
8. Digital Scrapbooking and Photo Albums
Digital scrapbooking has grown into a vibrant creative hobby, and transparent PNG cutouts are one of its most essential elements. Removing backgrounds from photos lets you arrange people, objects, and memories in artistic compositions that tell a story.
How to Use Transparent PNGs in Digital Scrapbooking
- Remove backgrounds from family photos, travel snapshots, or event pictures to isolate the key subjects.
- Choose a scrapbook template or design your own page with decorative backgrounds, patterns, and textures.
- Layer your transparent PNG cutouts onto the page, arranging them at different sizes and angles for visual variety.
- Add embellishments -- text captions, date stamps, decorative frames, washi tape graphics, and stickers.
- Export each page as a high-resolution PNG or PDF for digital viewing or professional printing.
Tools That Pair Well
- Canva for scrapbook templates and quick layouts
- Adobe Photoshop or Photoshop Elements for advanced compositing
- Mixbook or Shutterfly for ordering physical printed photo books
- Procreate (on iPad) for hand-drawn embellishments combined with photo cutouts
Digital scrapbooking with transparent PNGs produces results that look far more creative and personal than simply dropping rectangular photos into a grid. The irregular, natural shapes of cutout subjects make each page feel alive and intentional.
9. Presentation Slides with Floating Product Images
Nothing undermines a professional presentation like a product photo surrounded by an obvious white rectangle on a colored slide background. Transparent PNGs solve this instantly, allowing product images to float naturally on any slide design.
How to Enhance Presentations with Transparent PNGs
- Remove the background from your product photos, headshots, or key visual assets.
- Import the transparent PNGs into PowerPoint, Keynote, or Google Slides.
- Position the images so they interact with your text and layout -- let a product overlap a text box edge, or place a headshot alongside a quote.
- Add subtle drop shadows within the presentation software to give the floating images a sense of depth.
- Maintain consistency by using the same background removal quality and style across all slides.
Tools That Pair Well
- PowerPoint, Keynote, or Google Slides for building the presentation
- Canva for designing individual slide graphics
- Beautiful.ai for AI-assisted presentation layouts that handle transparent images elegantly
Sales decks, investor pitches, product demos, and educational lectures all benefit from this technique. Floating product images convey professionalism and attention to detail that audiences notice, even if subconsciously.
10. Gaming Avatars and Twitch/YouTube Overlays
Streamers, content creators, and gamers rely on transparent PNG overlays and custom avatars to brand their channels and stand out in a crowded space. From webcam frames to alert graphics, transparent images are the building blocks of every professional stream layout.
How to Create Custom Stream Assets
- Remove the background from your photo, logo, or custom artwork to create your base transparent PNG.
- Design your overlay layout in a streaming-friendly canvas size (1920x1080). Include cutout spaces for your webcam feed, chat, alerts, and game capture.
- Create individual transparent PNG elements for each asset: webcam frame, subscriber alert graphic, channel point icons, and scene transition images.
- Import the transparent PNGs into OBS Studio, Streamlabs, or StreamElements as image sources, positioning them in your scene layout.
- Test the full setup with a practice stream to verify that all transparent elements display correctly over your game footage.
Tools That Pair Well
- OBS Studio or Streamlabs for stream layout and scene management
- Canva or Figma for designing overlay elements
- StreamElements or Nerd or Die for animated alert templates that accept transparent PNG inputs
- Adobe Photoshop for advanced compositing and custom webcam frame design
Custom avatars created from your transparent PNG cutout can also be used across gaming profiles, Discord servers, forum signatures, and social media -- building a consistent visual identity across every platform.
Tips for Maintaining Quality with Transparent PNGs
Creating a transparent PNG is only half the job. Preserving image quality throughout your workflow ensures your final output looks professional.
Use Lossless Formats Throughout Your Workflow
PNG uses lossless compression, which means no quality is lost when saving. However, if you convert to JPEG at any point in your workflow, the transparency data is permanently destroyed and compression artifacts are introduced. Always keep your working files in PNG format until the final export step.
Pay Attention to Resolution
Start with the highest resolution source image available. Background removal tools produce cleaner edges when given more pixel data to work with. Aim for at least 2000 pixels on the longest side for print projects, and at least 1000 pixels for digital use.
Check Edges at Full Zoom
After removing a background, zoom in to 100% or beyond and inspect the edges of your subject carefully. Look for:
- Halo effects -- faint remnants of the original background color along the edges
- Jagged pixels -- staircase patterns that indicate rough masking
- Missing details -- fine elements like hair strands or thin structures that were accidentally removed
Most modern AI background removal tools handle these edge cases well, but a quick visual check is always worthwhile.
Optimize File Size Without Losing Quality
Transparent PNGs can be large files, especially at high resolutions. Use tools like TinyPNG or ImageOptim to compress your PNG files. These tools reduce file size by optimizing the compression algorithm without discarding any pixel data or transparency information.
Keep Original Source Files
Always retain your original, unprocessed images. If you need to re-process an image with different settings, adjust the cutout for a new project, or produce a different crop, having the source file saves time and preserves maximum quality.
Frequently Asked Questions
What is a transparent PNG?
A transparent PNG is an image file saved in the PNG format that includes an alpha channel -- a layer of data that defines the transparency of each pixel. Unlike JPEG files, which always have a solid background, transparent PNGs allow the background to show through wherever pixels are marked as transparent. This makes them ideal for logos, product cutouts, overlays, and any image that needs to be placed on different backgrounds without a visible rectangular border.
How do I make a transparent PNG from a regular photo?
The fastest method is to use an AI-powered background removal tool. Upload your photo, and the tool automatically detects the subject, removes the background, and exports a transparent PNG -- typically in just a few seconds. No manual selection or editing is required. For best results, start with a well-lit photo where the subject is clearly distinguishable from the background.
Can I use transparent PNGs on social media?
Yes, but with an important caveat. Most social media platforms do not display transparency directly in feed posts -- they will render the transparent areas as white or black. However, transparent PNGs are essential as intermediate assets in your design workflow. You use them to build layered compositions in Canva, Photoshop, or similar tools, then export the final design as a JPEG or PNG with a solid background for posting. Some platforms, like Instagram Stories stickers, do support transparency natively.
What resolution should my transparent PNG be?
The ideal resolution depends on your use case. For web and social media, images between 1000 and 2000 pixels on the longest side are sufficient. For print projects like t-shirts, posters, or stickers, aim for at least 300 DPI at the final print size, which often means source files of 3000 pixels or more. For email signatures and icons, smaller files around 200 to 500 pixels wide are appropriate to keep file sizes manageable.
Why does my transparent PNG show a white background when I open it?
This happens because some image viewers and applications display transparency as white by default. The transparency is still there -- you can verify by opening the file in a design tool like Photoshop, Canva, or Figma, where transparent areas appear as a gray-and-white checkerboard pattern. When you place the image into a design or onto a web page, the transparency will function correctly.
Start Creating with Transparent PNGs Today
You now have 10 proven creative ideas for putting transparent PNG images to work in your projects. From stickers and social media graphics to virtual backgrounds and streaming overlays, background removal is the gateway to more professional, more flexible, and more visually compelling designs.
The best part? Getting started takes only seconds:
- Upload your image
- Let AI remove the background automatically
- Download your transparent PNG
- Start creating
Remove Your Background for Free -->
Every creative project in this guide begins with one simple step -- a clean, high-quality transparent PNG. Try our free background removal tool and see how quickly you can transform an ordinary photo into a versatile design asset that works across every medium and platform.