How to Create Professional Passport Photos at Home with AI Background Removal
How to Create Professional Passport Photos at Home with AI Background Removal
Getting a passport photo taken at a pharmacy or photo studio seems simple enough, but it often means paying a premium for a result you could achieve at home in minutes. With a smartphone camera and AI background removal, you can create passport photos that meet official government requirements without leaving your house.
This guide walks you through everything you need to know: the specific background requirements for major countries, how to take the photo correctly, and how to use AI tools to produce a flawless white background passport photo every time.
Why Passport Photos Need a Specific Background
Passport photo background rules exist for a practical reason. Immigration and border control systems rely on biometric scanning and facial recognition software to verify traveler identities. A clean, uniform background ensures the software can isolate your face without interference from patterns, colors, or objects behind you.
A busy or uneven background introduces visual noise that can cause automated systems to reject your application. Beyond the technology, human reviewers at passport offices also need to see a clear, distraction-free photo to confirm your identity against the document.
Key reasons backgrounds matter:
- Facial recognition algorithms require high contrast between the subject and background
- Automated document verification systems scan for uniform background color
- Inconsistent lighting or shadows on the background trigger automatic rejections
- Government databases store biometric templates that depend on clean image extraction
- Photos with patterned or colored backgrounds are rejected outright in most countries
This is why a plain white or off-white background is the universal standard, and why getting it right is non-negotiable.
Country-Specific Passport Photo Requirements
Every country sets its own passport photo dimensions, background color standards, and additional rules. Getting even one detail wrong can delay your application by weeks. Below is a detailed comparison of requirements for the most commonly requested countries.
Passport Photo Requirements Comparison Table
| Requirement | United States | United Kingdom | India | European Union |
|---|---|---|---|---|
| Photo Size | 2 x 2 inches (51 x 51 mm) | 35 x 45 mm | 2 x 2 inches (51 x 51 mm) | 35 x 45 mm |
| Background Color | Plain white | Light gray or cream | White or off-white | Light gray, white, or cream |
| Head Height | 1 to 1-3/8 inches (25-35 mm) | 29-34 mm | 25-35 mm | 32-36 mm (70-80% of frame) |
| Resolution | 600 x 600 to 1200 x 1200 px | 600 x 750 px minimum | 600 x 600 px minimum | Varies by member state |
| File Format | JPEG for online, printed for mail | JPEG for online | JPEG for online | JPEG or printed |
| Max File Size | 240 KB (online) | 20 MB | 1 MB | Varies by member state |
| Glasses Allowed | No (since 2016) | Yes, if no glare | Yes, if no glare | Varies by member state |
| Expression | Neutral, mouth closed | Neutral, mouth closed | Neutral, mouth closed | Neutral, mouth closed |
| Recency | Within last 6 months | Within last month | Within last 6 months | Within last 6 months |
United States (US Passport Photo)
The U.S. Department of State requires a plain white background with no visible patterns, textures, or shadows. The photo must be 2 x 2 inches, and your head must be between 1 inch and 1-3/8 inches from the bottom of your chin to the top of your head. Both ears must be visible if possible, and glasses are not permitted in any circumstance since the 2016 rule change.
For online applications, submit a JPEG between 600 x 600 and 1200 x 1200 pixels, no larger than 240 KB.
United Kingdom (UK Passport Photo)
UK passport photos use the 35 x 45 mm format on a plain light gray or cream background. Pure white is acceptable but not preferred, as the system needs to distinguish the edge of your face from the background. Your expression must be neutral with your mouth closed. The photo must have been taken within the last month for new applications.
India (Indian Passport Photo)
India follows a 2 x 2 inch (51 x 51 mm) standard with a white or off-white background. The photo must show your full face from the front with a neutral expression. Head coverings are allowed only for religious reasons, and both ears should be visible. For online applications through the Passport Seva portal, submit a JPEG no larger than 1 MB.
European Union (EU/Schengen Passport Photo)
EU member states follow the ICAO (International Civil Aviation Organization) standard of 35 x 45 mm, but each country may add its own specific rules. The background should be light gray, white, or cream with no patterns. Germany, for instance, strictly requires a light gray background, while France accepts light blue. Always check your specific country's requirements before proceeding.
Step-by-Step Guide to Taking a Passport Photo at Home
You do not need professional studio equipment to take a compliant passport photo. A modern smartphone and some basic setup will produce results that meet government standards.
Step 1: Prepare Your Background
Start with the largest plain white or light-colored surface you can find. Options include:
- A clean white wall (check for marks, scuffs, or nail holes)
- A white bedsheet hung flat and pulled taut to remove wrinkles
- A large sheet of white poster board or foam board
- A white shower curtain stretched across a frame
Important: Stand at least 2-3 feet away from the background. This distance prevents your body from casting a shadow onto the surface behind you, which is one of the most common reasons for rejection.
Step 2: Set Up Your Lighting
Lighting is the single most important factor in a passport photo. Poor lighting causes shadows, uneven skin tones, and color casts that lead to rejection.
Best lighting setup:
- Position yourself facing a large window with indirect natural light
- The window should be in front of you, not behind you or to the side
- Avoid direct sunlight, which creates harsh shadows
- If natural light is insufficient, use two matching desk lamps placed at equal distances on either side of the camera, aimed at your face from roughly 45-degree angles
- Turn off overhead room lights to avoid shadows under your eyes, nose, and chin
Lighting to avoid:
- Single overhead light (creates raccoon-eye shadows)
- Flash from the camera (causes hot spots and red eye)
- Mixed lighting sources with different color temperatures
- Direct sunlight from a window (harsh contrast)
Step 3: Position Yourself and the Camera
Place your phone on a tripod or stable surface at eye level. If you do not have a tripod, stack books on a table until the camera reaches the correct height.
Positioning guidelines:
- Face the camera directly, not at an angle
- Keep your shoulders square and level
- Sit or stand straight with relaxed posture
- Position the camera approximately 4 feet (1.2 meters) away from your face
- Center your face in the frame with roughly equal space on all sides
- Ensure the top of your head and the bottom of your shoulders are visible
Step 4: Take the Photo
Use a timer or remote shutter to avoid camera shake. Most smartphones have a built-in 3-second or 10-second timer in the camera app.
Checklist before pressing the shutter:
- Neutral expression with mouth closed (no smile, no frown)
- Eyes open and looking directly at the camera lens
- No hair covering your face, eyebrows, or eyes
- Glasses removed (required for US; recommended for all countries)
- No head tilt in any direction
- Both ears visible if your hair allows it
- No shadows visible on your face or the background
Take at least 10-15 shots with slight adjustments between each. More options give you a better chance of getting one perfect photo.
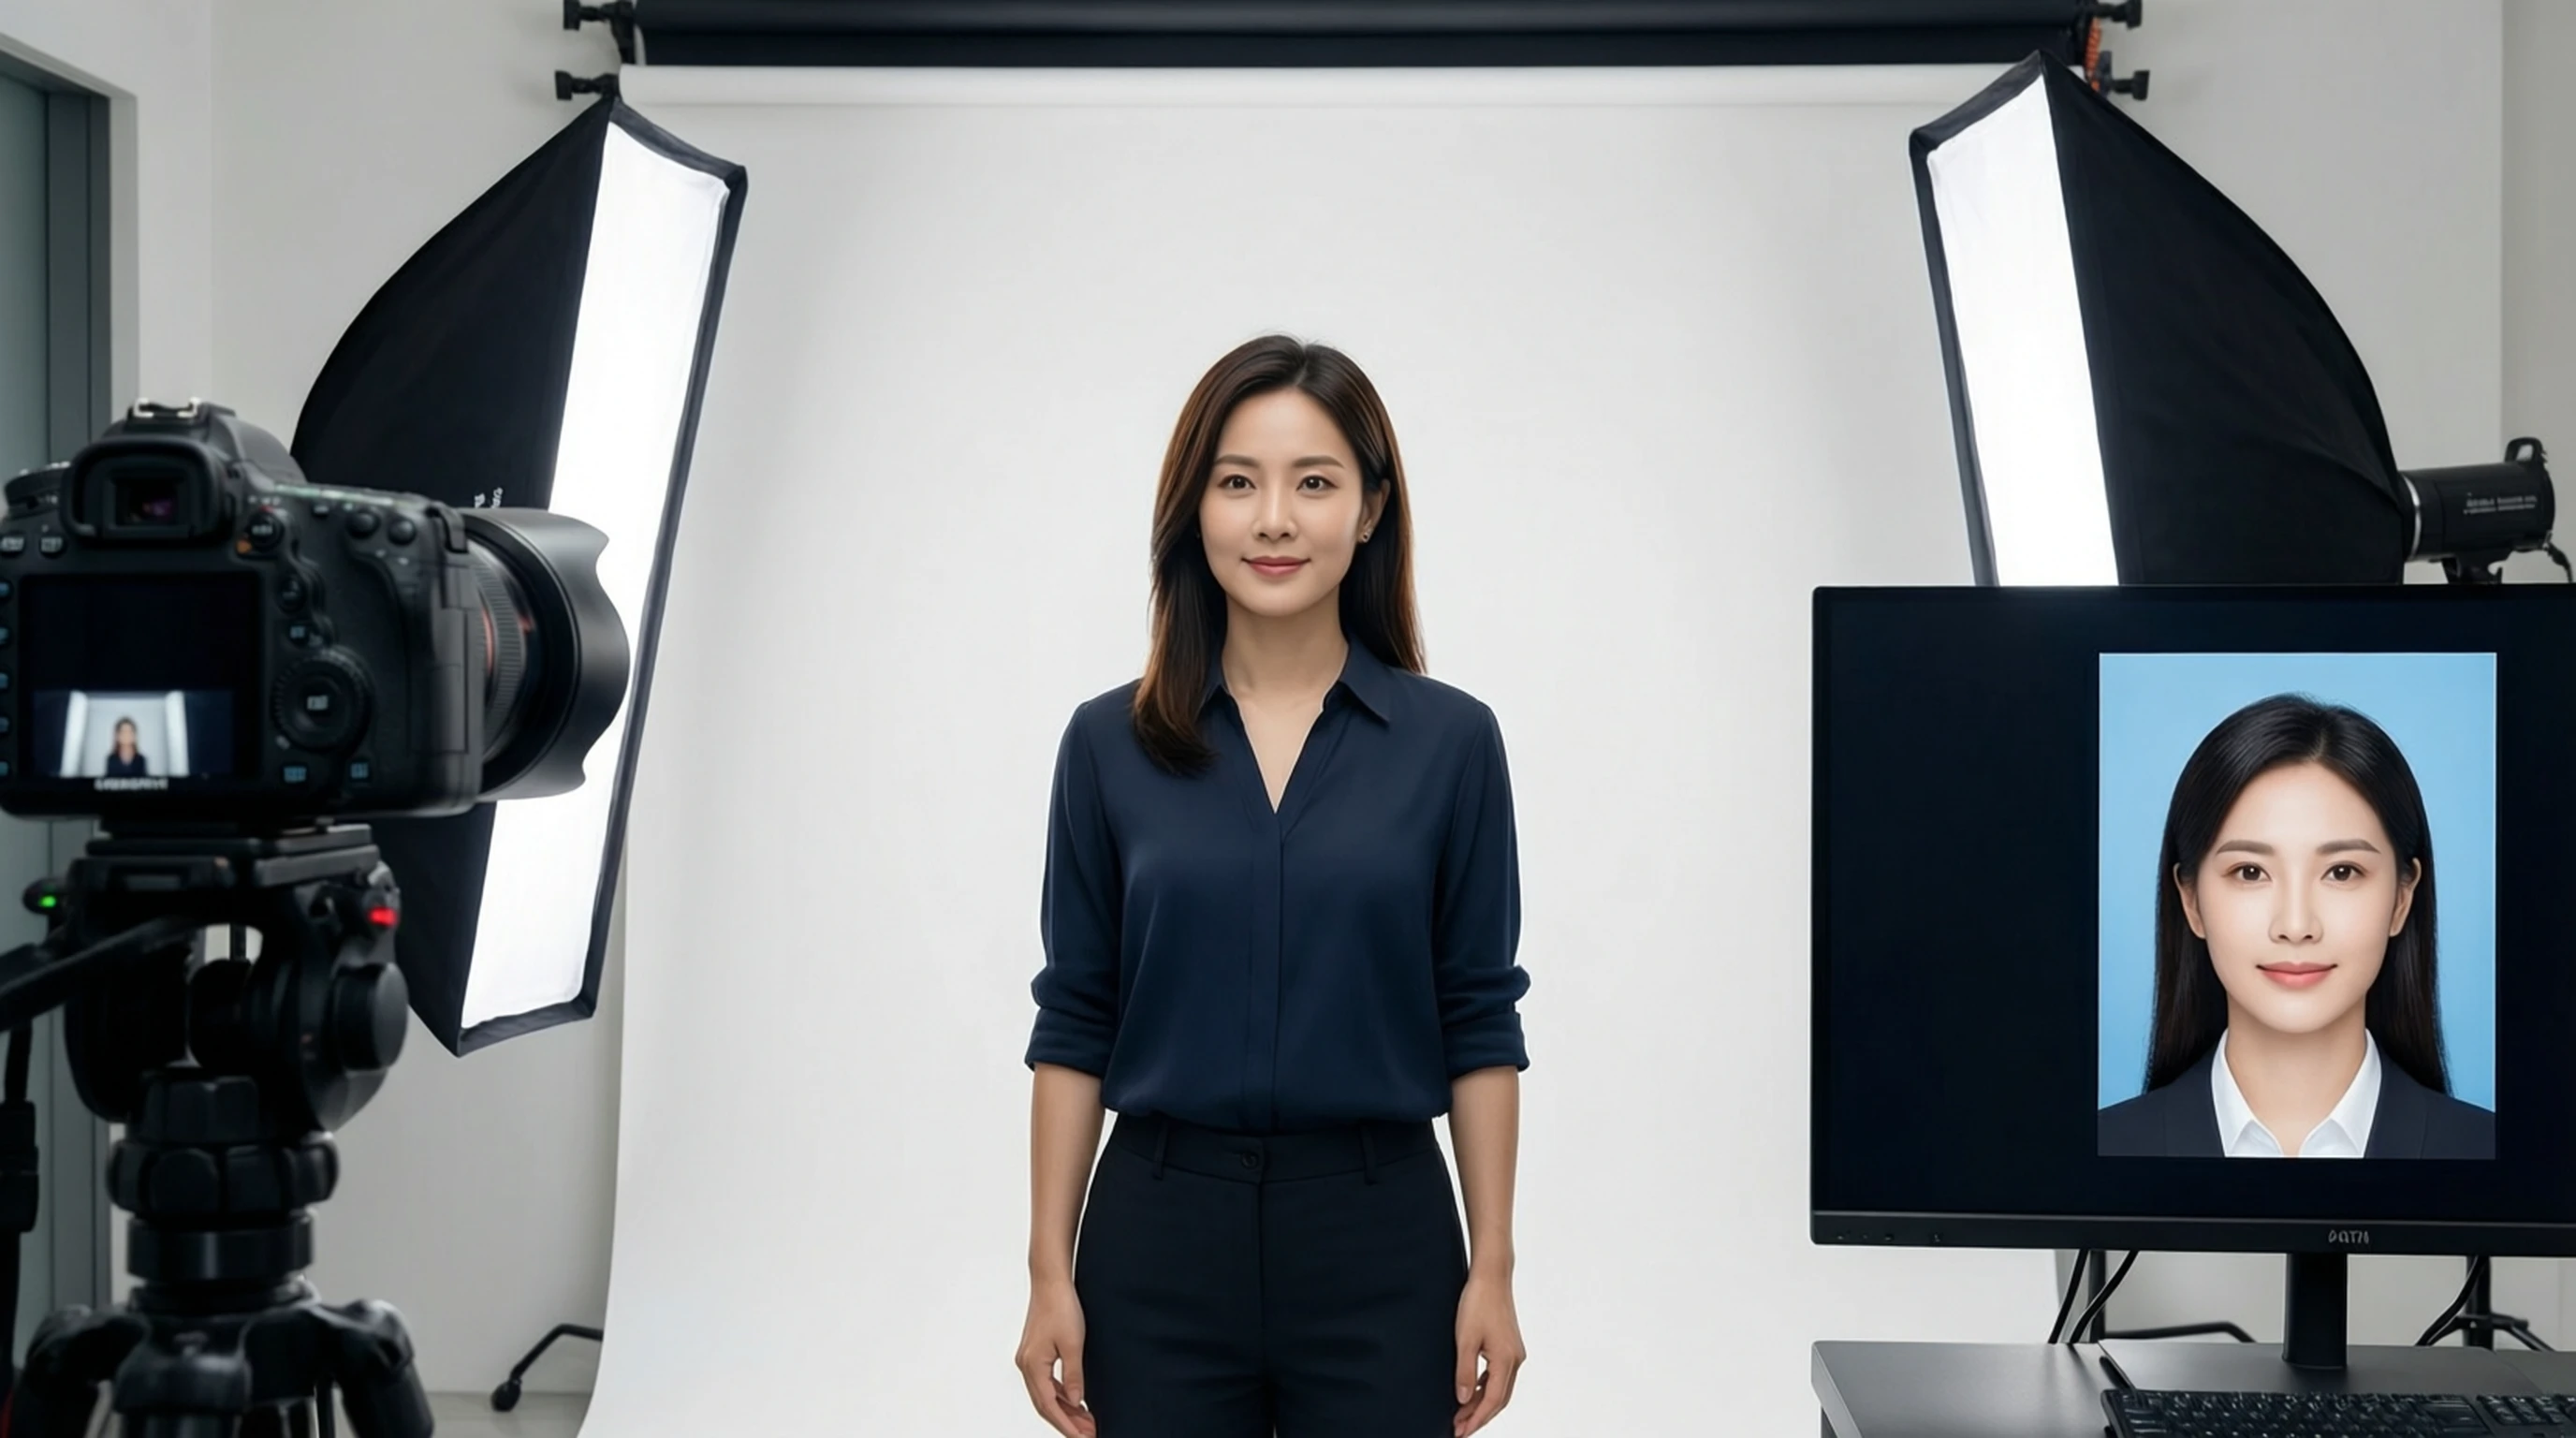
Step 5: Remove and Replace the Background with AI
Even with careful setup, your background may have subtle imperfections: a faint shadow, a slightly off-white color, a visible edge where the wall meets the ceiling, or uneven lighting across the surface. This is where AI background removal transforms a good home photo into a professional-quality passport image.
How to get a perfect white background:
- Go to remove-backgrounds.net
- Upload your best passport photo from the shots you took
- The AI automatically detects your face and body, removing the entire background in seconds
- Download the result as a transparent PNG
- Open the transparent image in any free photo editor (or use your phone's built-in editor)
- Add a new solid white layer behind the transparent cutout
- Export as JPEG at the required dimensions
The AI handles complex edges around hair, ears, and clothing with precision that manual editing cannot match in a reasonable time. Even stray hairs and flyaways are processed cleanly, giving you a result that looks like it was taken in a professional studio.
Step 6: Crop and Resize to Official Dimensions
After adding the white background, crop and resize to meet your country's specific dimensions:
- US: 2 x 2 inches at 300 DPI (600 x 600 pixels minimum)
- UK: 35 x 45 mm at 300 DPI (413 x 531 pixels minimum)
- India: 2 x 2 inches at 300 DPI (600 x 600 pixels minimum)
- EU: 35 x 45 mm at 300 DPI (413 x 531 pixels minimum)
Use the crop tool in your photo editor to frame your head at the correct size within the image. For US passports, your head height should be between 50% and 69% of the total image height.
Common Mistakes and How to Avoid Them
Passport photo rejections are frustrating but almost always preventable. Here are the most frequent errors and their solutions.
Shadows on the Background
The problem: A visible shadow behind your head or shoulders makes the background appear uneven, which triggers rejection.
The fix: Increase the distance between you and the background to at least 3 feet. Use front-facing lighting from two sources placed at equal angles. Alternatively, use AI background removal to eliminate the background entirely and replace it with a perfectly uniform white.
Incorrect Cropping
The problem: The head is too large, too small, or off-center in the frame. Each country has strict rules about head size relative to the overall photo dimensions.
The fix: Use a passport photo template or guide overlay when cropping. Many free tools and mobile apps include country-specific templates. For US passports, your head should measure between 1 inch and 1-3/8 inches from chin to crown in a 2 x 2 inch photo.
Poor Lighting
The problem: Uneven lighting creates hot spots, color casts, or shadows under facial features. Yellowish indoor lighting gives skin an unnatural tone.
The fix: Use natural daylight from a window whenever possible. If using artificial light, ensure both sides of your face are evenly lit. Avoid mixing light sources with different color temperatures (for example, a warm lamp on one side and cool daylight on the other).
Wrong Background Color
The problem: Slightly off-white, beige, or bluish backgrounds may look acceptable to your eye but can be flagged by automated scanning systems.
The fix: Use AI background removal to strip the original background completely, then add a precisely white (#FFFFFF) background. This guarantees the exact shade required regardless of your wall color at home.
Over-Edited or Filtered Photos
The problem: Beauty filters, skin smoothing, color grading, or other enhancements alter your appearance and will cause rejection.
The fix: Use only basic adjustments: brightness, contrast, and white balance correction. Do not apply any artistic filters, stickers, or face-altering features. The photo must represent your current, natural appearance.
Compression Artifacts
The problem: Repeatedly saving a JPEG reduces quality. Blurry, pixelated, or blocky images are rejected.
The fix: Work with the original high-resolution file from your camera. Save the final JPEG only once, at maximum quality (95-100%). If the file exceeds the size limit, reduce dimensions slightly rather than increasing JPEG compression.
Tips for Baby and Children Passport Photos
Photographing infants and young children for passport photos is notoriously difficult, but it is entirely possible at home with the right approach.
For Babies (Under 1 Year)
- Lay the baby on a white sheet or blanket and photograph from directly above. This is the easiest way to get a front-facing shot with a white background.
- Support the head if needed, but keep your hands out of the frame. If a hand is accidentally visible, AI background removal can help isolate just the baby.
- Time the photo around nap and feeding schedules. A well-rested, recently fed baby is far more likely to cooperate.
- Use natural light near a window rather than flash, which can startle infants and cause them to squint or cry.
- Eyes must be open and facing the camera for most countries. This is the hardest part. Be patient and take dozens of shots.
For Toddlers (1-3 Years)
- Use a car seat or high chair covered with a white sheet to keep the child upright and relatively still.
- Have a parent or helper stand behind the camera and use toys, sounds, or funny faces to get the child to look directly at the lens.
- Shoot in burst mode. Take 50 or more shots to increase your chances of capturing one frame with the right expression and head position.
- Remove the background with AI after the shoot. This lets you focus entirely on getting the child's face and expression right, without worrying about the background being perfect.
For Older Children (4-12 Years)
- Explain what you need in simple terms: look at the camera, keep your mouth closed, stay still for a moment.
- Make it a game. Challenge them to hold a "statue face" for five seconds.
- Let them see the results on the screen between attempts so they understand what you are working toward.
- Use the same lighting and distance guidelines as for adult photos.
Key Rule for All Children
Most passport offices are more lenient with babies and very young children regarding expression and exact head positioning. However, the background and lighting requirements remain the same. AI background removal is especially valuable for children's passport photos because it allows you to prioritize getting the right facial expression and deal with the background in post-processing.
Why AI Background Removal is the Best Solution for Passport Photos
Traditional approaches to getting the right passport photo background have significant drawbacks:
- Photo studios charge a premium for a simple service and may still produce imperfect backgrounds
- DIY with a white wall often results in shadows, uneven color, or visible texture
- Manual editing in Photoshop requires skill and time to cut around hair and complex edges
- Mobile apps with basic erasers leave rough, unprofessional edges
AI background removal solves all of these problems:
- Automatic detection identifies the subject with no manual selection needed
- Pixel-perfect edges handle hair, ears, and fine details that manual tools struggle with
- Consistent results produce the exact same uniform white every time
- Speed means processing takes seconds, not the 20-30 minutes of manual editing
- Cost is a fraction of studio pricing, or entirely free with the right tool
For anyone who needs passport photos regularly (families with children, frequent travelers, visa applicants), AI background removal pays for itself immediately in saved time and money.
Frequently Asked Questions
Can I use a selfie for my passport photo?
Technically, selfies are not recommended because the close distance creates lens distortion that subtly warps facial proportions. Passport offices may reject photos with visible distortion. Instead, use a timer or remote shutter with your phone placed 4 feet away on a tripod or stable surface. If a selfie is your only option, use the rear camera (which has a better lens) with a timer, and hold the phone at full arm's length.
What is the exact background color required for passport photos?
The United States requires pure white. The United Kingdom prefers light gray or cream. India requires white or off-white. EU countries vary, with most accepting light gray, white, or cream. When in doubt, pure white (#FFFFFF) is the safest choice and is accepted or tolerated by virtually every country. AI background removal followed by a solid white fill guarantees this exact shade.
Will my passport photo be rejected if there is a slight shadow on the background?
Yes, it can be. Automated scanning systems are sensitive to variations in background uniformity. Even a faint shadow can cause the system to flag the image for manual review, which delays processing. The safest approach is to remove the original background entirely using AI and replace it with a uniform white, eliminating any possibility of shadow-related rejection.
How recent does my passport photo need to be?
Most countries require a photo taken within the last 6 months. The UK is stricter, requiring photos taken within the last month for new applications. The photo must accurately represent your current appearance, meaning it should reflect your current hairstyle, facial hair, weight, and any other visible changes.
Can I wear a hat or head covering in my passport photo?
Religious head coverings are permitted in most countries, including the US, UK, India, and EU member states, provided they do not obscure any part of your face from the bottom of your chin to the top of your forehead. Non-religious hats, headbands, and accessories are not allowed. If in doubt, remove any head covering that is not required by your faith.
Is it legal to take my own passport photo at home?
Yes, absolutely. No country requires you to use a professional photographer for passport photos. As long as the final image meets the published technical specifications for dimensions, background color, lighting, resolution, and composition, a home-taken photo is fully accepted. Many passport offices even provide online tools to check whether your photo meets their requirements before you submit.
Create Your Perfect Passport Photo Today
Taking a passport photo at home is straightforward when you know the requirements and have the right tools. To summarize the process:
- Set up a well-lit space with a plain white background
- Position yourself 4 feet from the camera at eye level
- Take multiple shots with a neutral expression and direct gaze
- Remove the background using AI at remove-backgrounds.net to guarantee a flawless white background
- Crop and resize to your country's specific dimensions
- Export as a high-quality JPEG and submit with confidence
No studio appointment. No overpaying for a service you can do yourself. No risk of rejection due to background imperfections.
Create Your Passport Photo Background Now -- Upload your photo and get a perfect white background in seconds with our free AI background removal tool.