How to Create Stunning Product Mockups with AI Background Removal
How to Create Stunning Product Mockups with AI Background Removal
Product mockups are the bridge between a raw product photo and a polished marketing asset that sells. Whether you are launching on Amazon, building a Shopify store, or running social media ads, the quality of your product presentation directly influences purchasing decisions. Studies consistently show that shoppers judge product quality by the images they see, and a well-crafted mockup can be the difference between a scroll-past and a sale.
This tutorial walks you through the complete process of creating professional product mockups, from the initial photograph to the final composite. You will learn how to use AI background removal as the critical first step, and then place your clean product cutout into templates and scenes that make your brand look polished and trustworthy.
What Are Product Mockups and Why Do They Matter
A product mockup is a realistic visual representation of your product placed within a designed scene or context. Rather than showing a bare product on a white background, a mockup situates the item in an environment that helps customers imagine owning and using it.
Mockups serve several essential purposes in modern e-commerce and brand marketing:
- Build trust and credibility. Professional mockups signal that your brand is established and cares about presentation. A candle photographed on a plain table looks amateur; the same candle placed in a warm living room scene with soft lighting looks premium.
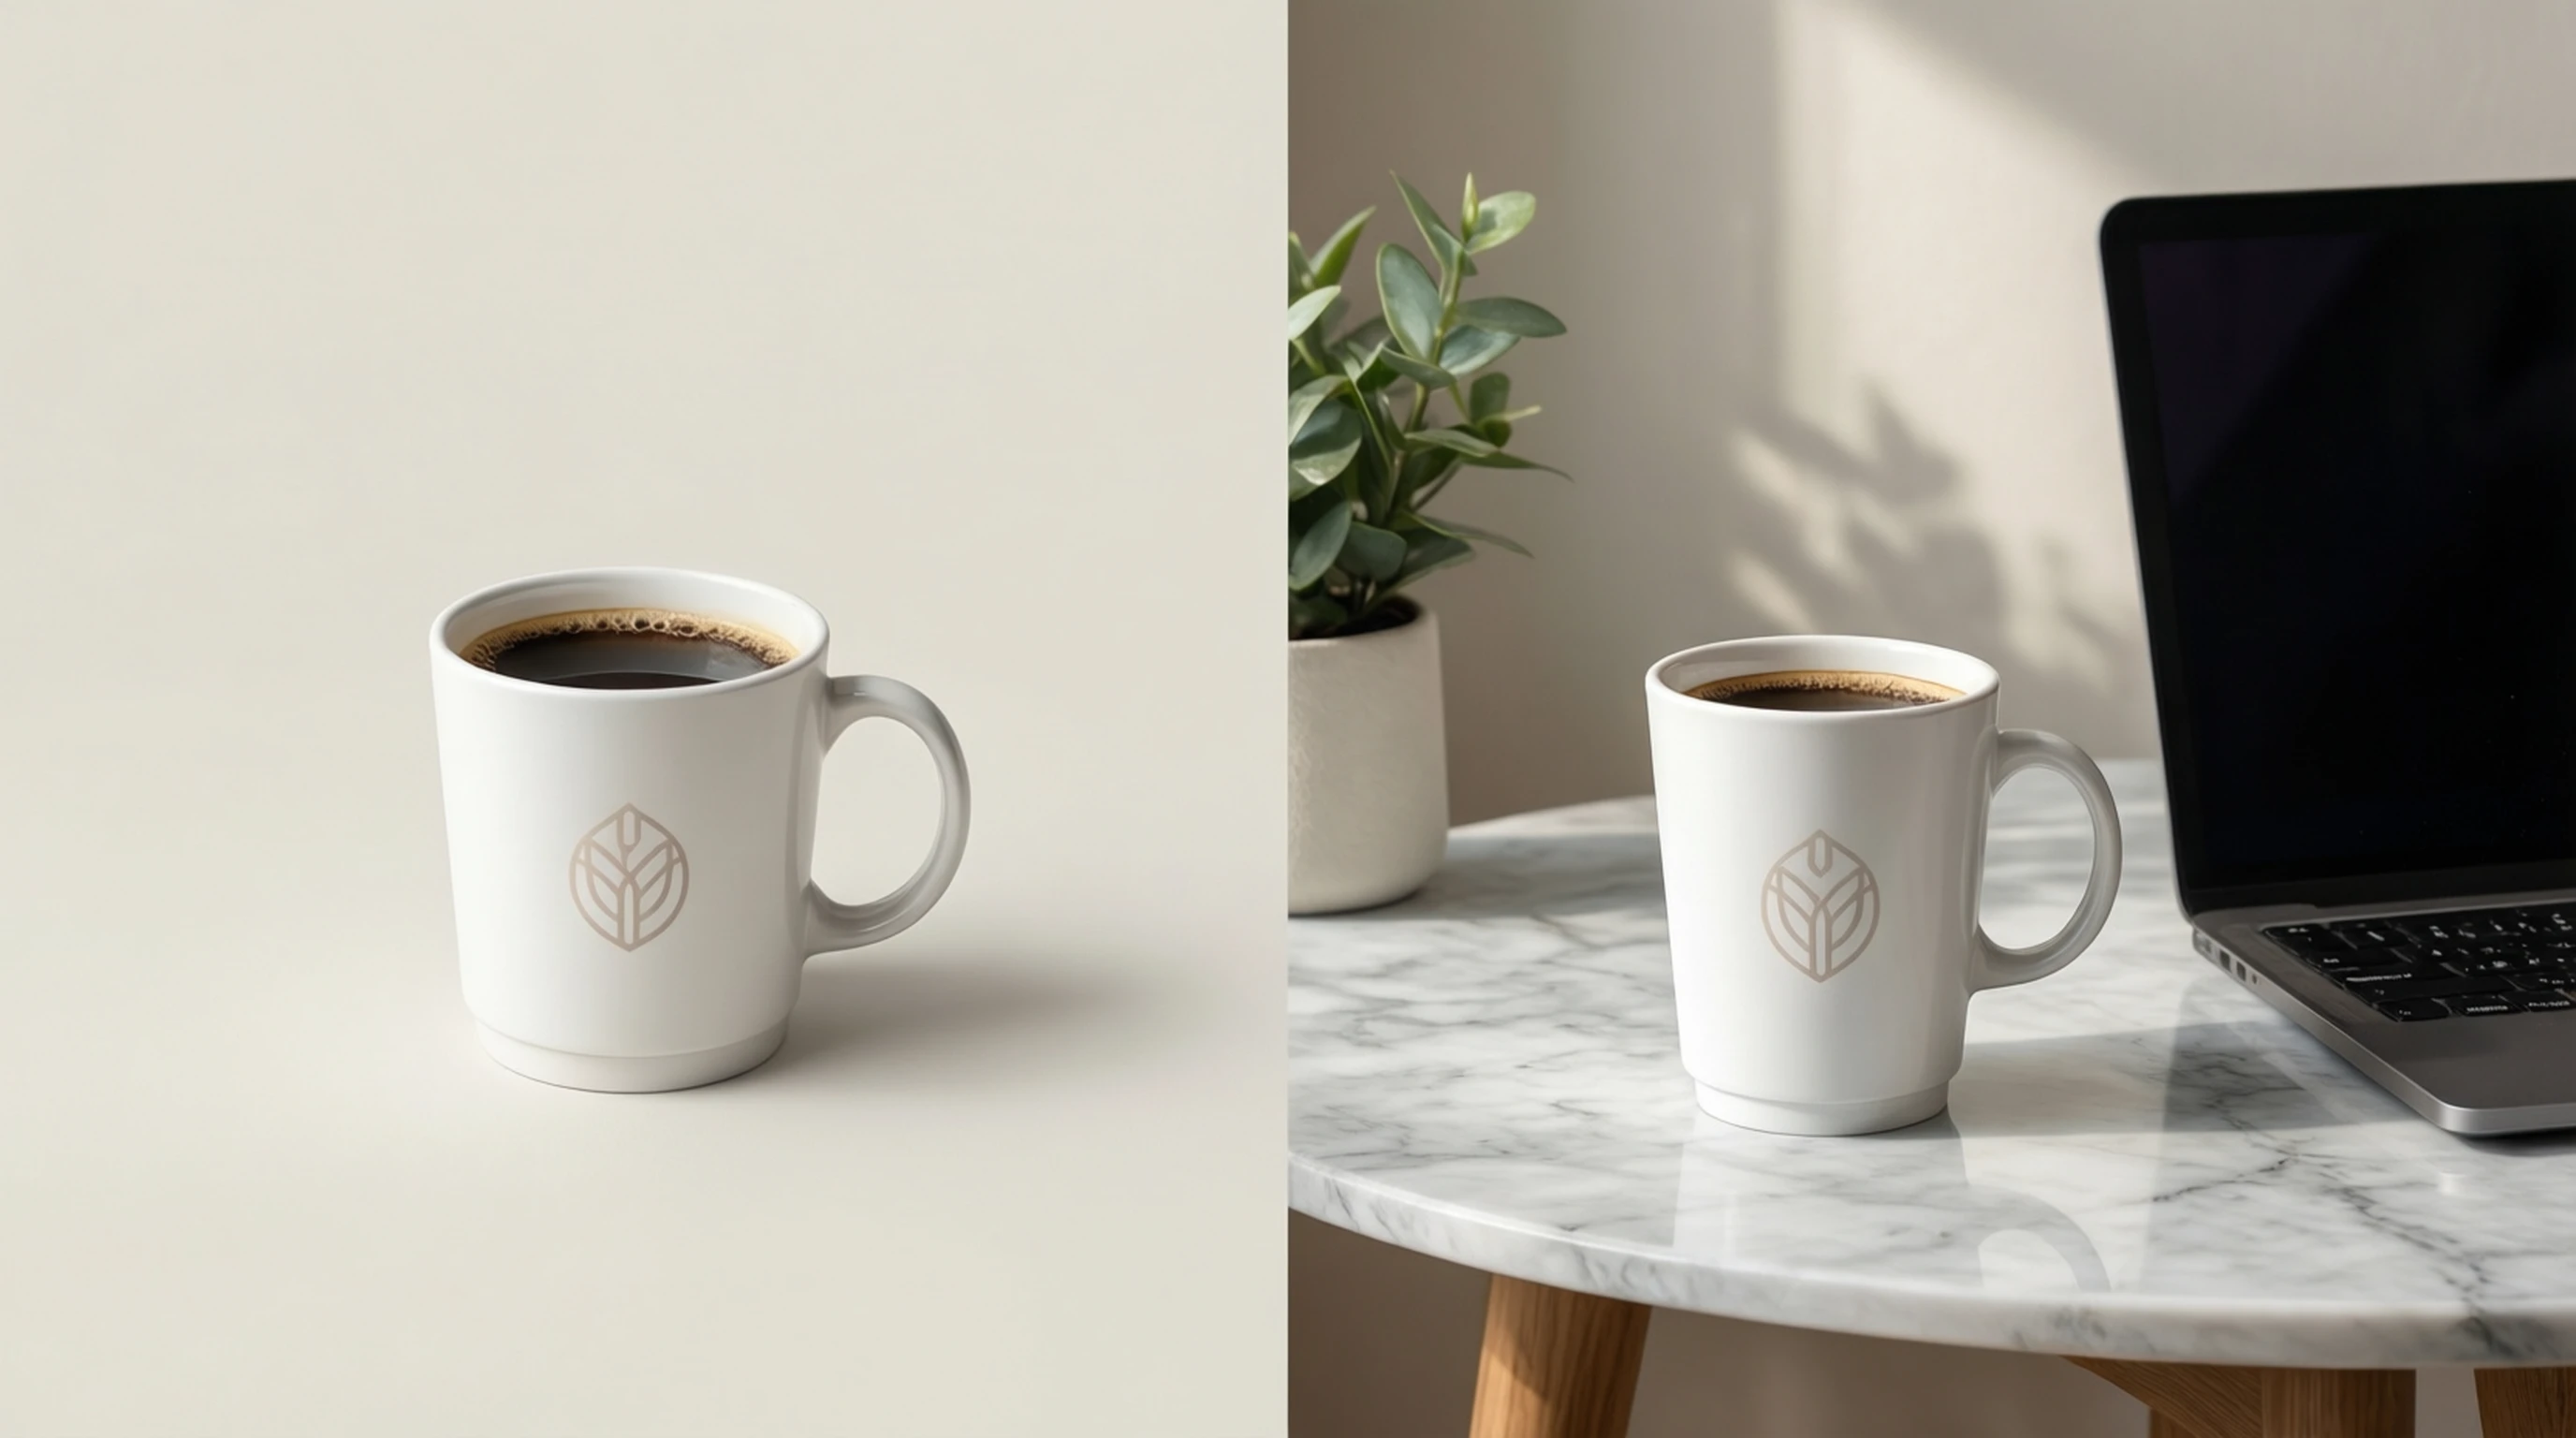
- Communicate scale and context. A product floating on a white background gives no sense of size. A coffee mug mockup with a hand holding it, or placed on a desk next to a keyboard, immediately communicates real-world dimensions.
- Enable consistent branding. Mockup templates allow you to maintain a uniform visual style across your entire catalog, even when products are photographed at different times, in different locations, or by different people.
- Save time and money. Instead of organizing expensive photo shoots with props, models, and professional sets, you can composite a single clean product photo into dozens of different scenes in minutes.
- Test before manufacturing. For products still in the design phase, mockups let you visualize how a logo, label, or pattern will look on the finished item before committing to production.
Without mockups, you are asking customers to do the imaginative work themselves. With mockups, you control the narrative and present your product in its most compelling light.
Types of Product Mockups
Different products and marketing contexts call for different mockup styles. Understanding when to use each type will help you choose the right presentation for every situation.
Flat Lay Mockups
Flat lay mockups photograph the product from directly above, arranged on a flat surface alongside complementary items. This style works exceptionally well for:
- Stationery and printed materials (business cards, notebooks, letterheads)
- Apparel laid flat (t-shirts, scarves, folded clothing)
- Food packaging viewed from above
- Small accessories like jewelry, watches, and phone cases
The key to a convincing flat lay mockup is the arrangement. Products should be placed with intentional spacing, and the surrounding items should relate to the product without competing for attention.
Lifestyle Mockups
Lifestyle mockups place the product in a real-world usage scenario. A backpack shown being worn on a hiking trail, a water bottle on a gym bench, or a notebook open on a cafe table. These mockups tell a story and help customers envision the product in their own lives.
Lifestyle mockups are particularly effective for:
- Social media advertising where emotional connection drives engagement
- Brand storytelling on your website's homepage or about page
- Products where the usage context is a major selling point
Contextual Mockups
Contextual mockups place the product in an environment that suggests its category or purpose without showing it actively being used. A skincare product arranged on a marble countertop with a plant in the background, or a tech gadget on a clean desk setup. The scene reinforces the product's positioning and target audience.
Scale Reference Mockups
These mockups include familiar objects alongside the product to communicate size. A hand holding a product, a product placed next to a common object like a coin or a pen, or a product shown in relation to furniture. Scale reference is critical for products where size might be ambiguous from photos alone, such as bags, storage containers, or decorative items.
Step-by-Step: From Product Photo to Finished Mockup
The process of creating a product mockup follows a clear sequence. Each step builds on the previous one, and getting the fundamentals right early saves significant time in the final composition.
Step 1: Photograph Your Product
Start with the best possible source image. Your mockup can only be as good as the product photo you begin with.
Camera and settings:
- Use the highest resolution available on your camera or smartphone
- Shoot in RAW format if possible for maximum editing flexibility
- Set a low ISO (100-400) to minimize noise
- Use a narrow aperture (f/8 to f/11) for sharp focus across the entire product
Lighting setup:
- Position two identical light sources at 45-degree angles to the product
- Use diffused light (softboxes, white umbrellas, or natural window light through a sheer curtain) to minimize harsh shadows
- Add a fill card (white foam board) on the opposite side of your main light to reduce shadow density
- Avoid mixed color temperatures, as they create color casts that are difficult to correct later
Background considerations:
- A plain, high-contrast background makes AI background removal faster and more accurate
- White or light gray backgrounds work well for most products
- Avoid backgrounds that match the product color, as this makes edge detection harder
Shooting angles:
- Capture the product from the angle that best matches your intended mockup template
- If the mockup template shows the product from a three-quarter view, photograph from a three-quarter view
- Mismatched perspectives are one of the most common and obvious mockup mistakes
Step 2: Remove the Background with AI
This is the step that transforms a raw product photo into a versatile asset. AI background removal cleanly separates your product from its surroundings, giving you a transparent PNG that can be placed on any scene.
- Go to remove-backgrounds.net
- Upload your product photo
- The AI automatically detects the product edges, including fine details like threading on fabric, translucent glass edges, or the irregular outline of organic products like food
- Review the result to confirm clean edges around your product
- Download as a transparent PNG
The AI handles the precise pixel-level work that would take 20 to 30 minutes of manual masking in a traditional photo editor. Hair-thin edges on brushes, the semi-transparent rim of a glass bottle, the irregular texture of a knitted garment -- all of these are processed automatically.
Why AI removal outperforms manual methods for mockups:
- Consistency across product lines. Every cutout has the same quality and precision, regardless of the product shape.
- Speed at scale. If you have 50 products to mock up, AI processing takes minutes rather than hours.
- Clean alpha channels. The transparent edges blend naturally into any background, avoiding the harsh cutout look of manual selection tools.
Step 3: Choose or Create Your Mockup Template
With your clean product cutout in hand, select a template or scene that matches your marketing goal.
Where to find high-quality mockup templates:
- Smartmockups -- Browser-based tool with thousands of templates for apparel, packaging, devices, and print. Many templates are free, and the interface lets you upload your image and position it within the scene directly in the browser.
- Placeit by Envato -- Extensive library of lifestyle and product mockup templates. Particularly strong for apparel and branded merchandise. Offers both static mockups and video mockup animations.
- Canva -- Includes a growing library of product mockup templates alongside its design tools. Convenient for creating the mockup and the rest of your marketing material in one place.
- Figma Community -- Free mockup templates shared by designers. Excellent for tech products, packaging, and UI/UX presentations. Requires basic familiarity with Figma.
- Freepik and Mockup World -- Large collections of free PSD and PNG mockup templates that can be edited in Photoshop or Photopea (a free browser-based Photoshop alternative).
- Creative Market -- Premium mockup packs with high production value. Worth the investment if you need a large, cohesive set for a product launch.
Step 4: Composite Your Product into the Mockup
Open your mockup template in your chosen design tool and place your transparent product PNG into the scene.
- Import your transparent PNG cutout into the template
- Scale the product to fit the scene naturally, paying attention to the perspective and proportions of surrounding objects
- Position the product within the designated area of the template, aligning it with any guides or smart object layers
- Adjust brightness, contrast, and color temperature to match the lighting of the mockup scene
- Add shadows and reflections (covered in detail in the next section)
- Export the final composite at the resolution required for your platform
Creating Mockups for Different Platforms
Each sales and marketing platform has its own image specifications and audience expectations. Your mockup strategy should adapt accordingly.
Website and Shopify Product Pages
- Primary image: Clean white background (pure product shot, no mockup) at a minimum of 2048 x 2048 pixels
- Supporting images: 2-3 lifestyle or contextual mockups showing the product in use
- Format: JPEG at high quality (85-95%) for fast page loading
- Consistency: Use the same lighting style and color grading across all product pages
Amazon Marketplace
- Main image: Pure white background (#FFFFFF), product fills 85% of the frame, no props or text -- this is mandatory for the primary listing image
- Secondary images: Lifestyle mockups, infographic-style images showing features, and scale reference shots
- Dimensions: At least 1600 pixels on the longest side for the zoom feature
- Important: Amazon's algorithm and customer behavior both favor listings with 7 or more images, so create multiple mockup variations
Social Media Advertising
- Instagram and Facebook ads: Lifestyle mockups perform best because they stop the scroll with an aspirational scene rather than a bare product image
- Pinterest: Vertical format (2:3 ratio), mockups with text overlay for context
- TikTok and Reels: Mockups work well as opening frames, but consider motion and context
- Aspect ratios: 1:1 for Instagram feed, 9:16 for Stories and Reels, 16:9 for YouTube thumbnails
Print and Packaging
- Resolution: 300 DPI minimum for any print application
- Color mode: CMYK for professional printing, RGB for screen display
- Bleed: Add 3mm bleed to edges if the mockup will be used in printed catalogs or brochures
Matching Shadows and Reflections for Realism
Shadows and reflections are the details that separate an amateur composite from a professional mockup. Without them, your product looks like it was pasted on top of the scene rather than placed within it. With well-executed shadows, the viewer accepts the image as a real photograph.
Types of Shadows to Add
Contact shadow: A dark, narrow shadow directly beneath the product where it touches the surface. This is the most critical shadow to get right. It anchors the product to the surface and prevents the floating effect.
Soft ambient shadow: A larger, diffused shadow that extends outward from the product. This simulates the overall ambient light in the scene and adds depth.
Cast shadow: A directional shadow that falls away from the product based on the light source position. Match the direction and angle of existing shadows in the mockup scene.
How to Create Realistic Shadows
- Observe the scene lighting. Before adding any shadow, study the mockup template. Where is the light coming from? How soft or hard are the existing shadows? What direction do they fall?
- Match the shadow direction. If the light in the mockup comes from the upper left, your product shadow should fall to the lower right.
- Use Gaussian blur. In Photoshop, Figma, or Canva, create a dark ellipse beneath the product and apply a blur. Adjust the blur radius until the shadow softness matches the scene.
- Reduce opacity. Shadows are rarely pure black. Set the opacity to 15-40% depending on the scene lighting. Lighter, more diffused scenes need softer shadows.
- Add a contact shadow separately. Place a smaller, darker, less blurred shadow directly at the base of the product for ground contact.
Adding Reflections
Reflections are appropriate when the product sits on a glossy or reflective surface such as glass, polished wood, or marble.
- Duplicate the product layer and flip it vertically
- Position the reflection directly below the product base
- Apply a gradient mask so the reflection fades with distance
- Reduce opacity to 10-25% for a subtle, realistic effect
Color Consistency Across a Mockup Series
When you are creating mockups for an entire product catalog or a collection of items in different colorways, maintaining color consistency is essential. Inconsistent colors across your product line look unprofessional and erode trust.
Practical steps for color consistency:
- Calibrate your monitor. Use a hardware calibration tool or at minimum adjust your display to the sRGB color profile.
- Use the same lighting setup for all product photos. Switching between natural light and artificial light between shoots introduces color shifts that are difficult to correct.
- Apply the same color correction preset. If you adjust white balance, exposure, and saturation for one product photo, save those settings and apply them identically to all photos in the series.
- Check colors against the physical product. Compare your screen mockup to the actual item under neutral lighting. Adjust until they match.
- Export in the same color space. Use sRGB for web and screen display. Mixing color profiles between images causes visible color differences on customer screens.
Tools Workflow: Background Removal to Final Composite
Here is the recommended end-to-end workflow for creating product mockups efficiently, whether you are working on one product or one hundred.
For Quick Single Mockups (Canva Workflow)
- Remove background at remove-backgrounds.net and download the transparent PNG
- Open Canva and search for a product mockup template in your category
- Upload your transparent PNG and drag it into the template
- Adjust sizing, position, and add a shadow effect using Canva's built-in shadow tool
- Export as PNG or JPEG at the highest available quality
For Professional Multi-Product Mockups (Figma Workflow)
- Batch process all product photos through AI background removal
- Import transparent PNGs into a Figma project
- Use mockup templates from Figma Community or create your own scene
- Place products using smart layout tools for precise alignment
- Add shadow and reflection layers
- Export individual frames for each platform at the required dimensions
For Maximum Control (Photoshop Workflow)
- Remove backgrounds with AI to get clean transparent PNGs
- Open your PSD mockup template in Photoshop
- Double-click the smart object layer and paste your product image inside
- Save the smart object to see the product automatically mapped to the mockup scene with correct perspective and lighting
- Fine-tune shadows, reflections, color grading, and any compositing details
- Export using "Export As" for web or "Save As" for print
Tips for Specific Product Categories
Different products present unique challenges and opportunities in mockup creation. Here are targeted recommendations for the most common categories.
Bottles and Beverages
- Photograph on a backlit surface to capture translucency and liquid color
- Pay special attention to label legibility in the final mockup
- Add a subtle reflection on the surface below the bottle for realism
- Consider condensation effects for cold beverages (can be added as an overlay in post-processing)
Clothing and Apparel
- Use flat lay mockups for pattern and print visibility, lifestyle mockups for fit and styling
- When placing a t-shirt design on a mockup template, match the fabric texture and wrinkles -- many apparel mockup templates include displacement maps that warp your design to follow the garment folds
- Ensure color accuracy is precise, as customers will return items where the color does not match what they saw online
Electronics and Tech
- Keep mockups clean and minimal, reflecting the modern aesthetic customers expect from tech products
- Show screens in use with realistic UI content rather than blank displays
- Include scale reference objects like a hand or a desk setup so customers understand the device size
- Use angular, dramatic lighting in mockup scenes to emphasize the materials and build quality
Jewelry and Accessories
- Photograph at macro level to capture texture, sparkle, and fine detailing
- Use dark or neutral backgrounds in mockups to make metallic and gem surfaces stand out
- Include a scale reference, as jewelry dimensions are often difficult to judge from photos alone
- Add subtle light flares or specular highlights in post-processing to simulate the sparkle that jewelry has in real life
Food and Packaging
- Use warm, inviting lighting tones in your mockup scenes
- Include contextual props that suggest a meal or occasion (a fork, a napkin, ingredients) without cluttering the scene
- For packaging mockups, ensure the label text is legible at the final display size
- Photograph food at its freshest, and process the background removal immediately before any wilting or settling occurs
Common Product Mockup Mistakes to Avoid
Even with good tools and templates, certain errors can undermine the professionalism of your mockups. Watch for these frequent problems.
Wrong Perspective
The mistake: The product was photographed from a straight-on angle, but the mockup template shows a scene from a slightly elevated viewpoint. The resulting composite looks unnatural because the product appears to defy the spatial logic of the scene.
The fix: Before photographing your product, study the mockup template you plan to use. Match the camera angle as closely as possible during the shoot. If you are creating multiple mockups, photograph the product from several angles to give yourself options.
Missing Shadows
The mistake: A product cutout placed on a scene with no shadow beneath it. The product appears to float above the surface, immediately breaking the illusion of realism.
The fix: Always add at minimum a contact shadow beneath the product. Even a subtle, soft-edged dark area at the base makes a significant difference. Study the existing shadows in the template and match their intensity and direction.
Inconsistent Lighting Direction
The mistake: The product is lit from the right side, but the scene shows light coming from the left. The opposing light directions create a visual contradiction that the viewer may not consciously identify but will register as something feeling off.
The fix: Before your product shoot, determine the light direction in your target mockup templates. Set up your lighting to match. If you are working with multiple templates that have different lighting, either photograph the product under each lighting scenario or choose templates with consistent lighting.
Incorrect Scale
The mistake: A small product appears oversized in relation to the objects around it in the mockup scene, or a large product looks miniature.
The fix: Use real-world reference points in the mockup scene to gauge correct size. If the scene includes a table, a hand, or any recognizable object, scale your product to be proportionally accurate.
Over-Saturated or Mismatched Colors
The mistake: The product colors look vivid and saturated, but the mockup scene has muted, natural tones. The product looks artificially enhanced and out of place.
The fix: Adjust your product's color grading to match the overall tone of the scene. Reduce saturation slightly if the scene is muted, or warm the product tones if the scene has warm lighting. The product should look like it belongs in the environment.
Frequently Asked Questions
What image format should I use for product mockups?
Use PNG with transparency for the intermediate cutout step (after background removal and before placing into the mockup). For the final exported mockup, use JPEG at 85-95% quality for web and social media, or PNG if you need to preserve any remaining transparency. For print applications, export as TIFF or high-quality PDF at 300 DPI.
How do I match the lighting of my product photo to the mockup scene?
Study the light direction in the mockup template before you photograph your product. Note where highlights fall and which direction shadows extend. Set up your product lighting to match. In post-processing, use brightness, contrast, and color temperature adjustments to fine-tune the match. The goal is for the product to look like it was photographed inside the mockup scene.
Can I create mockups without Photoshop?
Absolutely. Free tools like Canva, Figma, and Photopea offer all the compositing features you need for professional mockups. Canva is the simplest for beginners, Figma offers more precision for detailed work, and Photopea provides Photoshop-level functionality at no cost directly in the browser. The most important step -- removing the background -- is handled by the AI tool before you even open your design application.
How many mockup images should I create per product?
For e-commerce listings, aim for a minimum of 5 images: one clean white-background shot, two lifestyle or contextual mockups, one close-up detail shot, and one scale reference image. For Amazon listings specifically, 7 or more images is recommended because it unlocks the image carousel and improves conversion rates. For social media, create at least 3 variations to test which style resonates with your audience.
What resolution should my product mockups be?
For e-commerce websites, a minimum of 2000 pixels on the longest side ensures the image looks sharp on high-DPI displays and supports zoom functionality. Amazon specifically recommends at least 1600 pixels for the zoom feature. For social media, follow each platform's recommended dimensions (1080 x 1080 for Instagram feed, 1080 x 1920 for Stories). For print, work at 300 DPI at the final print size.
Do I need to create separate mockups for mobile and desktop?
Not typically. Most platforms automatically scale images for different screen sizes. However, you should verify that your mockup looks good at small sizes by previewing it on a phone screen. If critical product details are lost when the image is displayed at mobile dimensions, consider creating a cropped or zoomed version specifically for mobile-first platforms like Instagram and TikTok.
Start Creating Professional Product Mockups Today
The workflow is straightforward: photograph your product with good lighting, remove the background using AI at remove-backgrounds.net, and composite the clean cutout into a mockup template using your preferred design tool. The result is a professional product presentation that builds trust, communicates value, and drives sales.
Whether you are a solo entrepreneur launching your first product or a marketing team managing a catalog of hundreds of items, this process scales to meet your needs. AI background removal handles the time-intensive cutout work in seconds, freeing you to focus on the creative decisions that make your mockups stand out.
Create Your Product Mockup Now -- Upload your product photo and get a clean, transparent cutout ready for any mockup template in seconds.