Social Media Background Removal: Perfect Images for Every Platform in 2026
Social Media Background Removal: Perfect Images for Every Platform in 2026
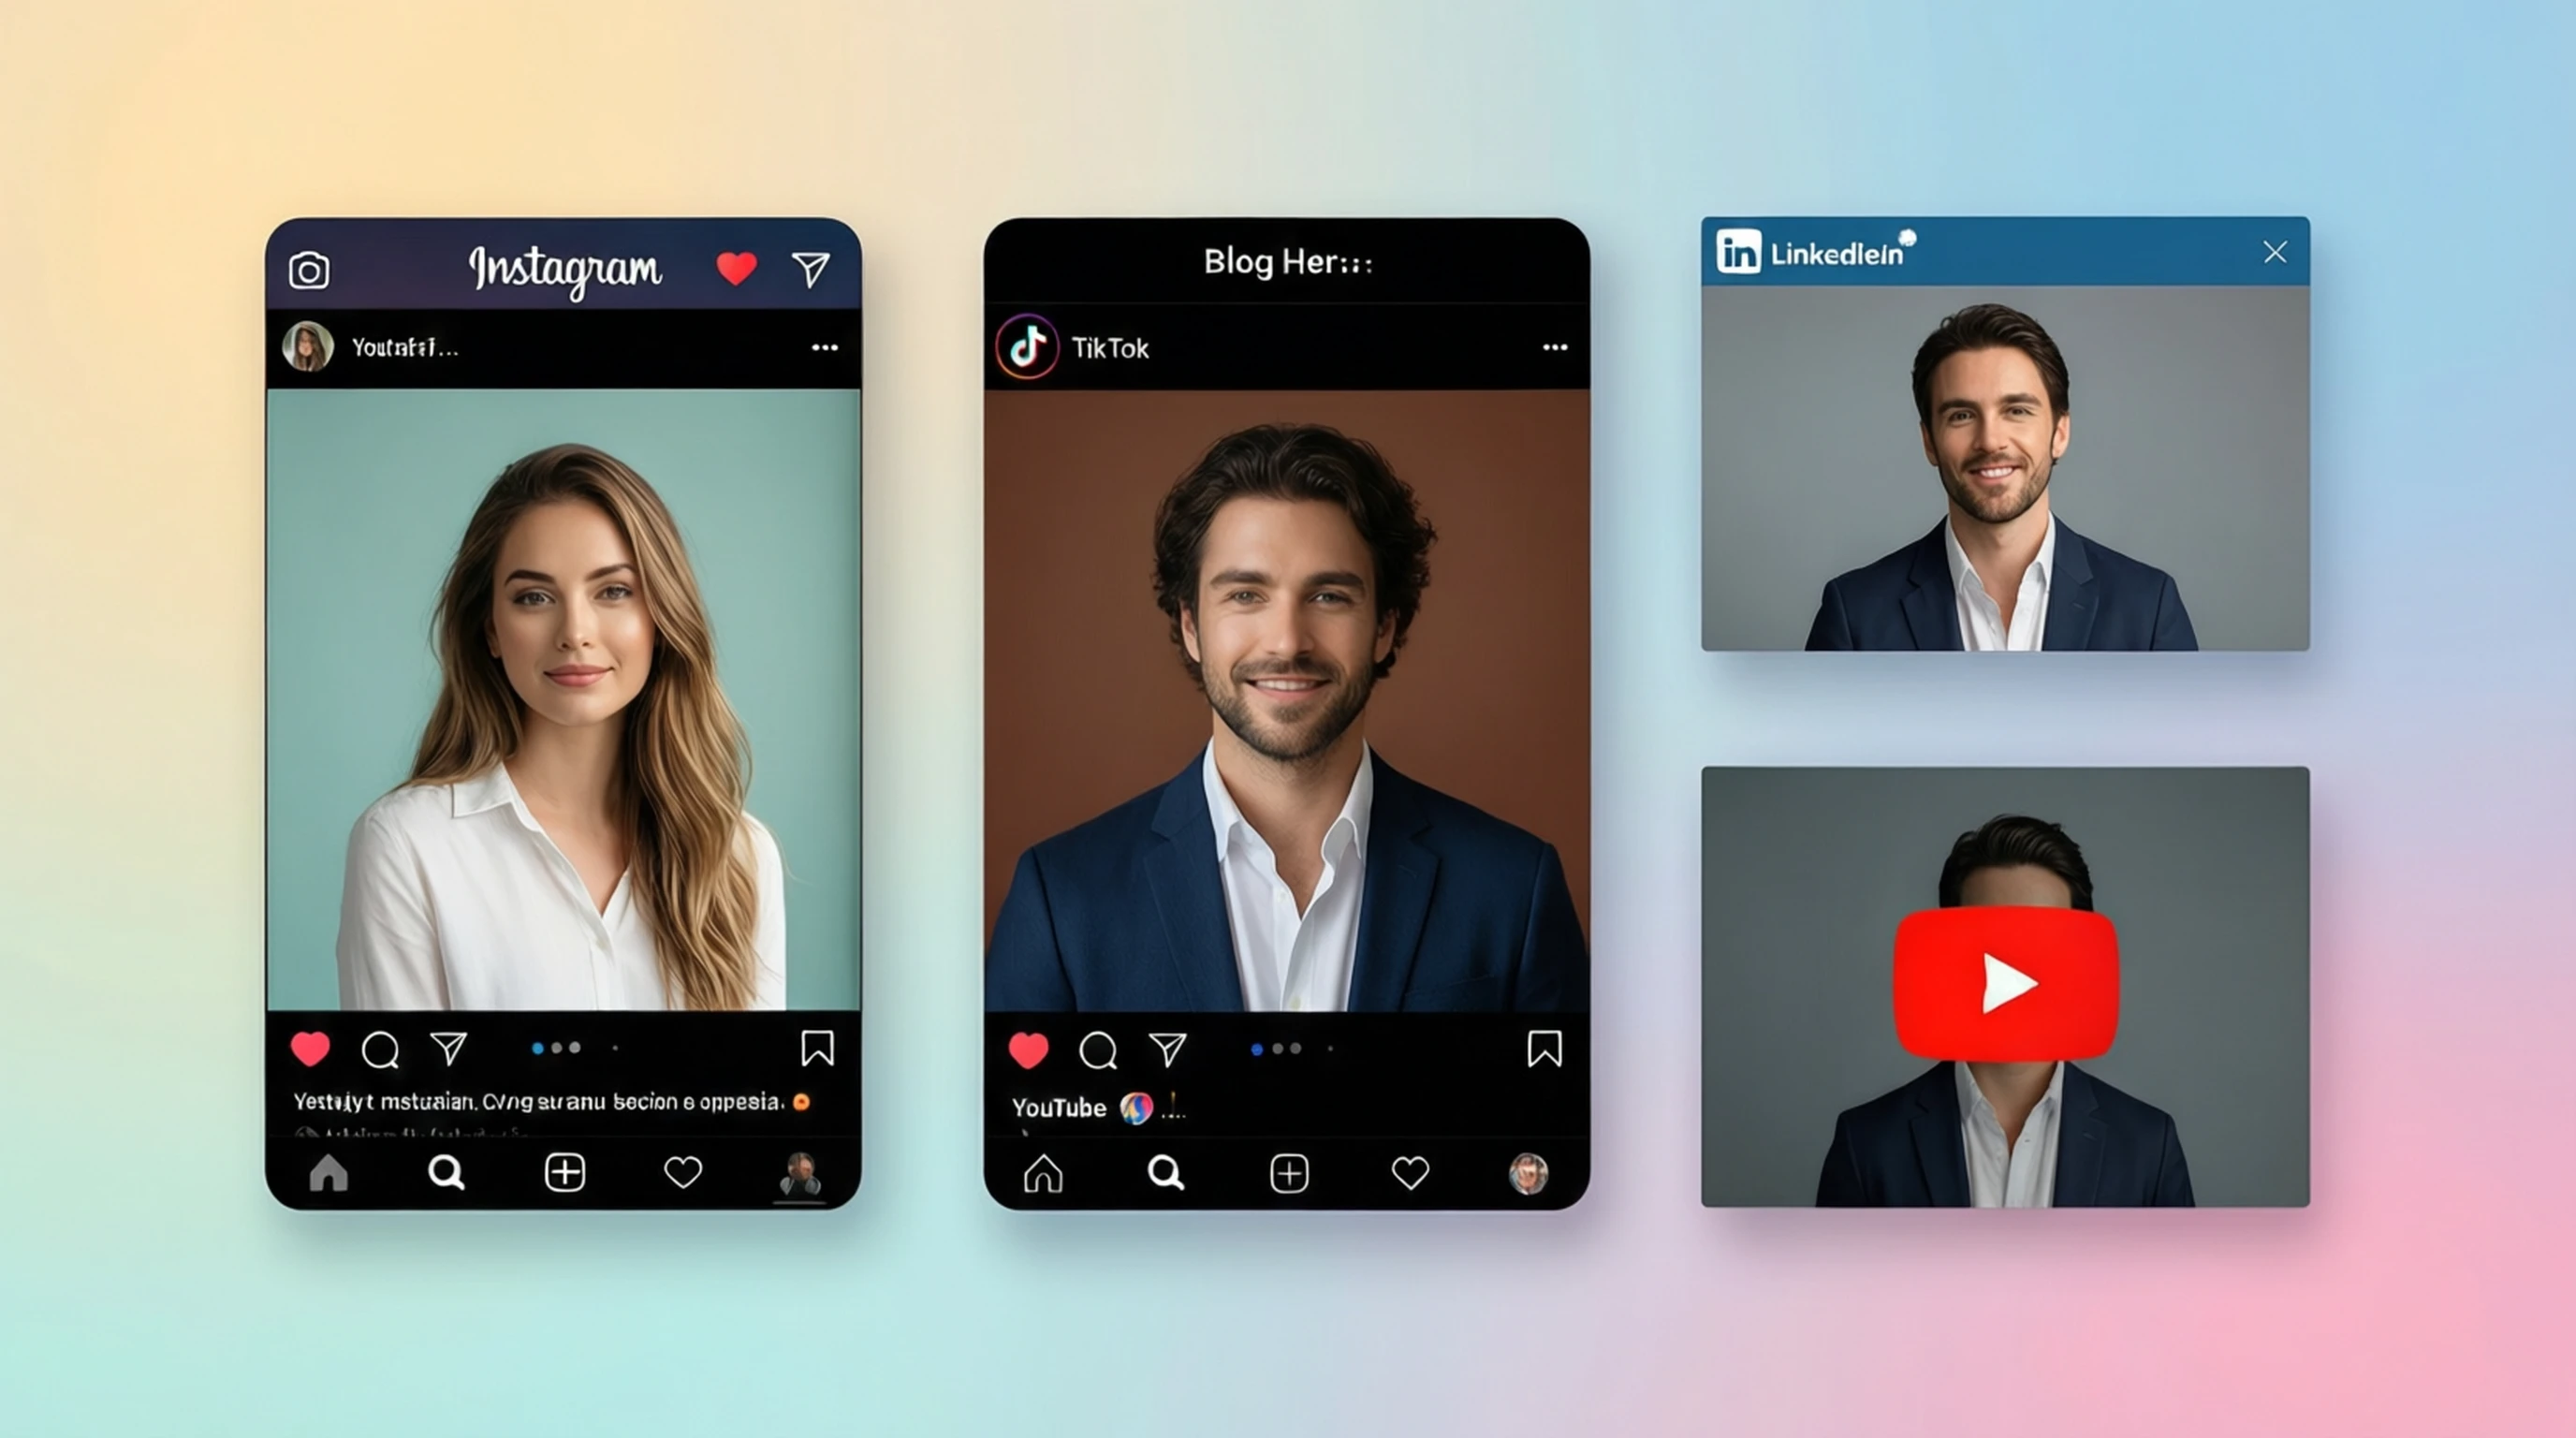
Social media success in 2026 comes down to one thing: visual impact. With billions of posts competing for attention every day, your images need to stand out the instant someone scrolls past them. One of the most effective ways to achieve that is through background removal -- stripping away distracting clutter so your subject commands full attention.
Whether you are a brand building product awareness, an influencer growing your audience, or a small business owner trying to sell more online, mastering background removal for social media will give you a measurable edge. This guide covers everything you need to know, from platform-specific image dimensions to advanced content strategies that leverage transparent backgrounds.
Why Background Removal Matters for Social Media Engagement
The average social media user scrolls through hundreds of posts per day. Research consistently shows that clean, subject-focused images outperform cluttered ones across every major platform. Here is why removing backgrounds makes such a difference:
- Faster visual processing: The human brain processes images with clear focal points significantly faster. When your subject is isolated on a clean or branded background, viewers grasp your message in a fraction of a second.
- Higher perceived quality: Images with removed backgrounds look polished and professional. This signals credibility, which matters whether you are selling a product or building a personal brand.
- Stronger brand consistency: When every post uses the same background color, gradient, or style, your feed becomes instantly recognizable. Followers associate that visual identity with your brand before they even read the caption.
- Platform algorithm favorability: Engagement metrics like saves, shares, and time-on-post tend to be higher for clean images. Social media algorithms reward content that generates strong engagement by showing it to more people.
- Versatility across formats: A single subject with a transparent background can be placed on any color, pattern, or scene, giving you unlimited creative flexibility from one photo session.
The bottom line is straightforward: removing backgrounds from your social media images is one of the highest-impact, lowest-effort improvements you can make to your content strategy.
Platform-Specific Image Sizes and Requirements
Every social media platform has its own recommended image dimensions, aspect ratios, and file size limits. Using the wrong dimensions means your carefully crafted images will be cropped, compressed, or displayed with black bars. The table below provides the key specifications you need for each platform in 2026.
| Platform | Format | Recommended Size (px) | Aspect Ratio | Max File Size | Best File Type |
|---|---|---|---|---|---|
| Feed Post (Square) | 1080 x 1080 | 1:1 | 30 MB | JPG, PNG | |
| Feed Post (Portrait) | 1080 x 1350 | 4:5 | 30 MB | JPG, PNG | |
| Story / Reel | 1080 x 1920 | 9:16 | 30 MB | JPG, PNG | |
| TikTok | Video Thumbnail | 1080 x 1920 | 9:16 | 10 MB | JPG, PNG |
| Feed Post | 1200 x 630 | 1.91:1 | 30 MB | JPG, PNG | |
| Story | 1080 x 1920 | 9:16 | 30 MB | JPG, PNG | |
| Feed Post | 1200 x 627 | 1.91:1 | 10 MB | JPG, PNG | |
| Profile Banner | 1584 x 396 | 4:1 | 8 MB | JPG, PNG | |
| Twitter/X | Feed Post | 1600 x 900 | 16:9 | 5 MB (image) | JPG, PNG, WebP |
| Standard Pin | 1000 x 1500 | 2:3 | 20 MB | JPG, PNG | |
| Long Pin | 1000 x 2100 | 1:2.1 | 20 MB | JPG, PNG | |
| YouTube | Thumbnail | 1280 x 720 | 16:9 | 2 MB | JPG, PNG |
| YouTube | Channel Banner | 2560 x 1440 | 16:9 | 6 MB | JPG, PNG |
Pro tip: Always export your images at the exact recommended dimensions. Uploading an oversized image and letting the platform resize it introduces compression artifacts that degrade quality. Remove the background first, then composite your subject onto a canvas at the precise pixel dimensions listed above.
Creating Branded Content with Consistent Backgrounds
One of the most powerful applications of background removal is building a cohesive visual brand across your social media presence. When every post shares a consistent look, your content becomes immediately identifiable in a crowded feed.
Step-by-Step Branded Content Workflow
- Photograph your subjects in any setting. You do not need a studio or even a clean backdrop because the background will be removed.
- Remove the background using an AI-powered tool. Upload your image and let the AI generate a precise mask in seconds.
- Place the subject on your brand background. This could be a solid color matching your brand palette, a gradient, a subtle pattern, or a custom-designed template.
- Add brand elements. Overlay your logo, tagline, or other consistent design elements in the same position across all posts.
- Export at platform-specific dimensions. Save separate versions for each platform you plan to post on.
Choosing Your Brand Background Style
- Solid colors: The simplest and most effective approach. Pick one or two colors from your brand palette and use them consistently. White, off-white, and light pastels work well for products. Bold colors work for lifestyle and entertainment brands.
- Gradients: A two-tone gradient adds visual interest without distracting from the subject. Keep it subtle -- the gradient should complement, not compete.
- Textured backgrounds: Marble, wood grain, fabric, or paper textures can reinforce your brand aesthetic. These work especially well for lifestyle, food, and fashion brands.
- Seasonal variations: Maintain your core brand identity while swapping background colors or accents to match seasons, holidays, or campaigns.
The key principle is consistency over creativity. A feed where every post looks like it belongs together will always outperform a feed full of visually disconnected images, no matter how individually creative each one might be.
Story and Reel Content: Transparent Overlays and Stickers
Stories and Reels are among the highest-engagement formats on Instagram, Facebook, and TikTok. Background removal unlocks creative possibilities that are difficult or impossible to achieve otherwise.
Creating Custom Stickers
Remove the background from any image to create a custom sticker that you can layer over video or photo content in Stories and Reels. Common use cases include:
- Product stickers: Place cutout product images over lifestyle footage to create shoppable content.
- Reaction stickers: Cut out expressive photos of yourself or your team for reactions and commentary overlays.
- Logo and mascot stickers: Create transparent PNG versions of your brand elements that can be placed on any content.
Transparent Overlays for Video
When creating Reels or TikTok videos, you can use background-removed images as overlays that appear on screen during specific moments. This technique is widely used for:
- Product reveals: Show the product floating over the video content without a distracting rectangular image boundary.
- Before and after comparisons: Layer a cutout of the finished result over raw footage.
- Text and image combinations: Place a cutout subject next to text callouts for tutorial-style content.
How to Use Transparent Images in Stories
Most story editors on Instagram and Facebook support PNG files with transparency. Here is the workflow:
- Remove the background from your image and download it as a PNG.
- Save the PNG to your phone's camera roll.
- Open the Story editor and select a background photo or video.
- Use the sticker tool and select the image from your camera roll.
- Resize and position the cutout subject wherever you want it.
This gives you far more creative control than the built-in story templates, and it ensures your content looks unique rather than templated.
Profile Photos and Headshots for Professional Platforms
Your profile photo is often the first impression someone has of you. On professional platforms like LinkedIn, a clean, well-lit headshot with a neutral background communicates competence and approachability.
Why Remove Your Headshot Background
- Eliminate distractions: A busy background at a coffee shop or office can pull focus from your face.
- Ensure consistency: Match your headshot background to your personal or company brand colors.
- Look professional: Recruiters and hiring managers form impressions within seconds. A polished headshot signals attention to detail.
- Cross-platform reuse: One background-removed headshot can be placed on different colored backgrounds for LinkedIn (neutral/corporate), Instagram (vibrant/personal), and your company website (brand colors).
Best Practices for Professional Headshots
- Use a photo taken at chest level or above with your face clearly visible.
- Ensure strong, even lighting on your face with minimal harsh shadows.
- Remove the background and replace it with a solid color or soft gradient. Medium blues, grays, and whites are the safest choices for professional contexts.
- Keep the final image at least 400 x 400 pixels for LinkedIn and 320 x 320 pixels for most other platforms.
- Save as a high-quality JPEG or PNG for upload.
Creating Carousel Posts with Clean Product Shots
Carousel posts (multi-image swipe posts) are among the most-saved and most-shared content types on Instagram and LinkedIn. They are especially effective for showcasing products, tutorials, and listicles.
Background removal is essential for carousel posts because visual consistency across all slides keeps viewers swiping. Here is how to build an effective carousel:
Product Carousel Workflow
- Photograph all products you want to feature. Angle and lighting should be as consistent as possible.
- Remove the background from every image in the set.
- Create a carousel template with your brand colors, fonts, and layout. Each slide should share the same grid structure.
- Place each product onto its corresponding slide. Because the background has been removed, every product integrates seamlessly with the template.
- Add text overlays like product names, prices, features, or call-to-action prompts.
- Export each slide at 1080 x 1080 (square) or 1080 x 1350 (portrait) for Instagram.
Design Tips for Carousel Engagement
- Slide 1 is your hook. Make it bold, clear, and curiosity-inducing. It determines whether someone swipes.
- Use consistent spacing. Every product should occupy roughly the same amount of space on its slide.
- End with a CTA. Your final slide should tell the viewer what to do next: visit your site, follow your account, save the post, or comment.
- Limit text. Let the clean product images do the heavy lifting. Captions handle the details.
Meme and Reaction Image Creation
Memes remain one of the most viral content types on social media. Background removal is a core skill in meme creation because it allows you to extract subjects, objects, and expressions from their original context and place them into new, humorous scenarios.
How to Create Memes with Background Removal
- Find or capture your source image. This might be a reaction photo, a product, an animal, or any subject with meme potential.
- Remove the background to isolate the subject.
- Place the cutout onto a new background, alongside text, or combined with other cutout images.
- Add captions using bold, high-contrast text (white text with black outline is the classic meme format).
- Export and share. For maximum compatibility, export as PNG if you want to preserve transparency for further remixing, or as JPG for direct posting.
Reaction Images for Community Engagement
Brands increasingly use custom reaction images in their comment sections and community posts. Remove the background from expressive photos of your team, mascot, or products to create a library of reaction images you can deploy in replies and comments. This humanizes your brand and drives comment-section engagement.
Social Media Templates with Transparent Elements
Building a library of reusable templates with transparent elements saves enormous amounts of time and ensures every post matches your brand guidelines.
What to Include in Your Template Library
- Product placement templates: Pre-designed slides with empty areas where background-removed product images can be dropped in.
- Quote and testimonial templates: Branded backgrounds with space for text and an optional transparent headshot of the person being quoted.
- Announcement templates: Layouts for sales, launches, events, and updates with transparent areas for product or feature images.
- Story templates: Vertical 9:16 layouts with sticker zones, text areas, and product placement spots.
Building Templates Efficiently
- Design your base layouts in any image editor. Use placeholder shapes where transparent images will go.
- Create a library of background-removed assets: products, headshots, icons, and brand elements.
- Assemble final posts by combining templates and assets. Because everything is pre-cut with transparent backgrounds, the composition process takes minutes instead of hours.
- Batch-create content for the week or month in a single session, swapping in different products or messages on the same templates.
This workflow is how professional social media teams produce high volumes of polished content without burning out on manual editing.
Tips for Influencers and Content Creators
If you create content for a living, background removal should be a regular part of your production workflow. Here are specific strategies that top creators use:
Build a Visual Signature
Choose a background style and use it across all platforms. When followers see your signature color, gradient, or pattern, they immediately recognize your content even before reading your name. This is especially powerful on Instagram Explore and TikTok For You pages, where your brand name is not prominently displayed.
Create a Cutout Asset Library
Whenever you do a photo shoot, remove the backgrounds from your best shots and save them as a library of transparent PNGs. These become modular assets you can use in:
- Thumbnails
- Promotional graphics
- Collaboration posts
- Merch mockups
- Media kit materials
Repurpose One Photo Across Platforms
A single background-removed photo can be placed on a square canvas for Instagram, a vertical canvas for Stories, a wide canvas for Twitter/X, and a tall canvas for Pinterest. One photo session produces content for every platform when you remove the background and recomposite.
Collaborate Visually with Other Creators
When doing collaboration posts, both creators can provide background-removed headshots or brand assets. These can be combined into a single graphic that features both creators cleanly, without mismatched backgrounds or awkward photo merging.
Speed Up Your Workflow with AI
Manual background removal in Photoshop can take 10 to 30 minutes per image with complex edges like hair or textured clothing. AI-powered background removal processes the same image in under 5 seconds with comparable or better edge quality. For creators producing dozens of images weekly, this saves hours of editing time.
Before and After: Engagement Metrics with Clean vs. Cluttered Backgrounds
The difference between a cluttered background and a clean one is not just aesthetic -- it is measurable. Content creators and brands who have switched to background-removed imagery consistently report improvements in key engagement metrics.
What the Data Shows
- Click-through rates on product posts tend to increase when products are shown on clean, uncluttered backgrounds compared to busy lifestyle settings. The product becomes the undeniable focal point.
- Save rates on Instagram are higher for clean, informational carousel posts with consistent backgrounds. Users save content they find useful and visually organized.
- Share rates increase when images are visually distinct and easy to understand at a glance. Background-removed images are inherently more shareable because the message is clear without needing context.
- Profile visit rates improve when your feed has a cohesive look. Visitors who land on a well-organized grid are more likely to follow.
- Ad performance: Paid social campaigns that use clean product images on solid backgrounds frequently achieve lower cost-per-click and higher conversion rates compared to ads with busy backgrounds.
Real-World Application
Consider a simple A/B test for your next product post:
- Version A: Product photographed on a kitchen counter with visible clutter in the background.
- Version B: Same product, same angle, but with the background removed and replaced with your brand color.
Track likes, comments, saves, shares, and link clicks for both versions. In most cases, Version B will outperform Version A, especially on visually driven platforms like Instagram and Pinterest.
Frequently Asked Questions
What is the best file format for social media images with transparent backgrounds?
PNG is the standard format for images with transparency. When you remove a background, always save the result as a PNG to preserve the transparent areas. However, when you composite the subject onto a new colored background for posting, you can export as either PNG or JPEG. JPEG files are smaller but do not support transparency, so use them only when your final image has a solid background.
Can I remove backgrounds from images on my phone?
Yes. AI-powered background removal tools that run in your web browser work on any device, including smartphones and tablets. Simply visit the tool in your mobile browser, upload a photo from your camera roll, and download the result. No app installation is required.
How do I maintain image quality after removing the background?
Use a tool that processes images at their original resolution rather than downscaling them. Avoid re-saving images multiple times, as each save cycle can introduce compression artifacts. When possible, work with PNG files throughout your editing workflow and only convert to JPEG at the final export step.
Is background removal useful for video content, or just photos?
While AI background removal is primarily designed for still images, the resulting transparent PNGs are extremely useful in video production. You can import cutout images into video editors as overlay layers in Reels, TikToks, YouTube videos, and Stories. For actual video background removal (live footage), you would need a dedicated video tool, but still-image cutouts cover the majority of social media video use cases.
Do I need design skills to create professional social media posts with removed backgrounds?
No. The combination of AI background removal and simple template-based workflows means anyone can create polished content. Remove the background with one click, place the subject on a colored canvas at the right dimensions, add text if needed, and export. Free tools like Canva or even built-in phone editors can handle the compositing step. The AI handles the technically difficult part -- the precise background removal.
How many images can I process for free?
Our tool at remove-backgrounds.net allows you to process multiple images for free every day with no watermarks and no account required. For most social media creators, the free tier is more than sufficient for daily content needs. If you need higher volume or batch processing, affordable credit packs are available.
Start Creating Scroll-Stopping Social Media Content
Every image you post is competing against thousands of others for a fraction of a second of attention. Background removal gives you an unfair advantage by ensuring your subject is the only thing the viewer sees -- no distractions, no clutter, just a clean, professional image that communicates your message instantly.
The workflow is simple:
- Upload your image to remove-backgrounds.net
- Let the AI remove the background in seconds
- Download your transparent PNG
- Place it on your branded background at the right platform dimensions
- Post and watch your engagement grow
Whether you are building a brand, growing an audience, or selling products, clean images with removed backgrounds will elevate every piece of content you publish.
Try Free Background Removal Now
Stop settling for cluttered, inconsistent social media images. Join thousands of creators and brands who use AI-powered background removal to produce professional content in a fraction of the time. Your next viral post starts with a clean background.